
Trash to Treasure Bench http://www.lifeatthecottage.com
This is another trash to treasure project. My daughter Deb told me that if she saw that pile of junk in her garage she would sigh and think, “Ugh, I need to go to the dump again”. She was pretty impressed with her mom and dad and the projects we work on, especially when she gets some of them. As with the hall tree we previously made,
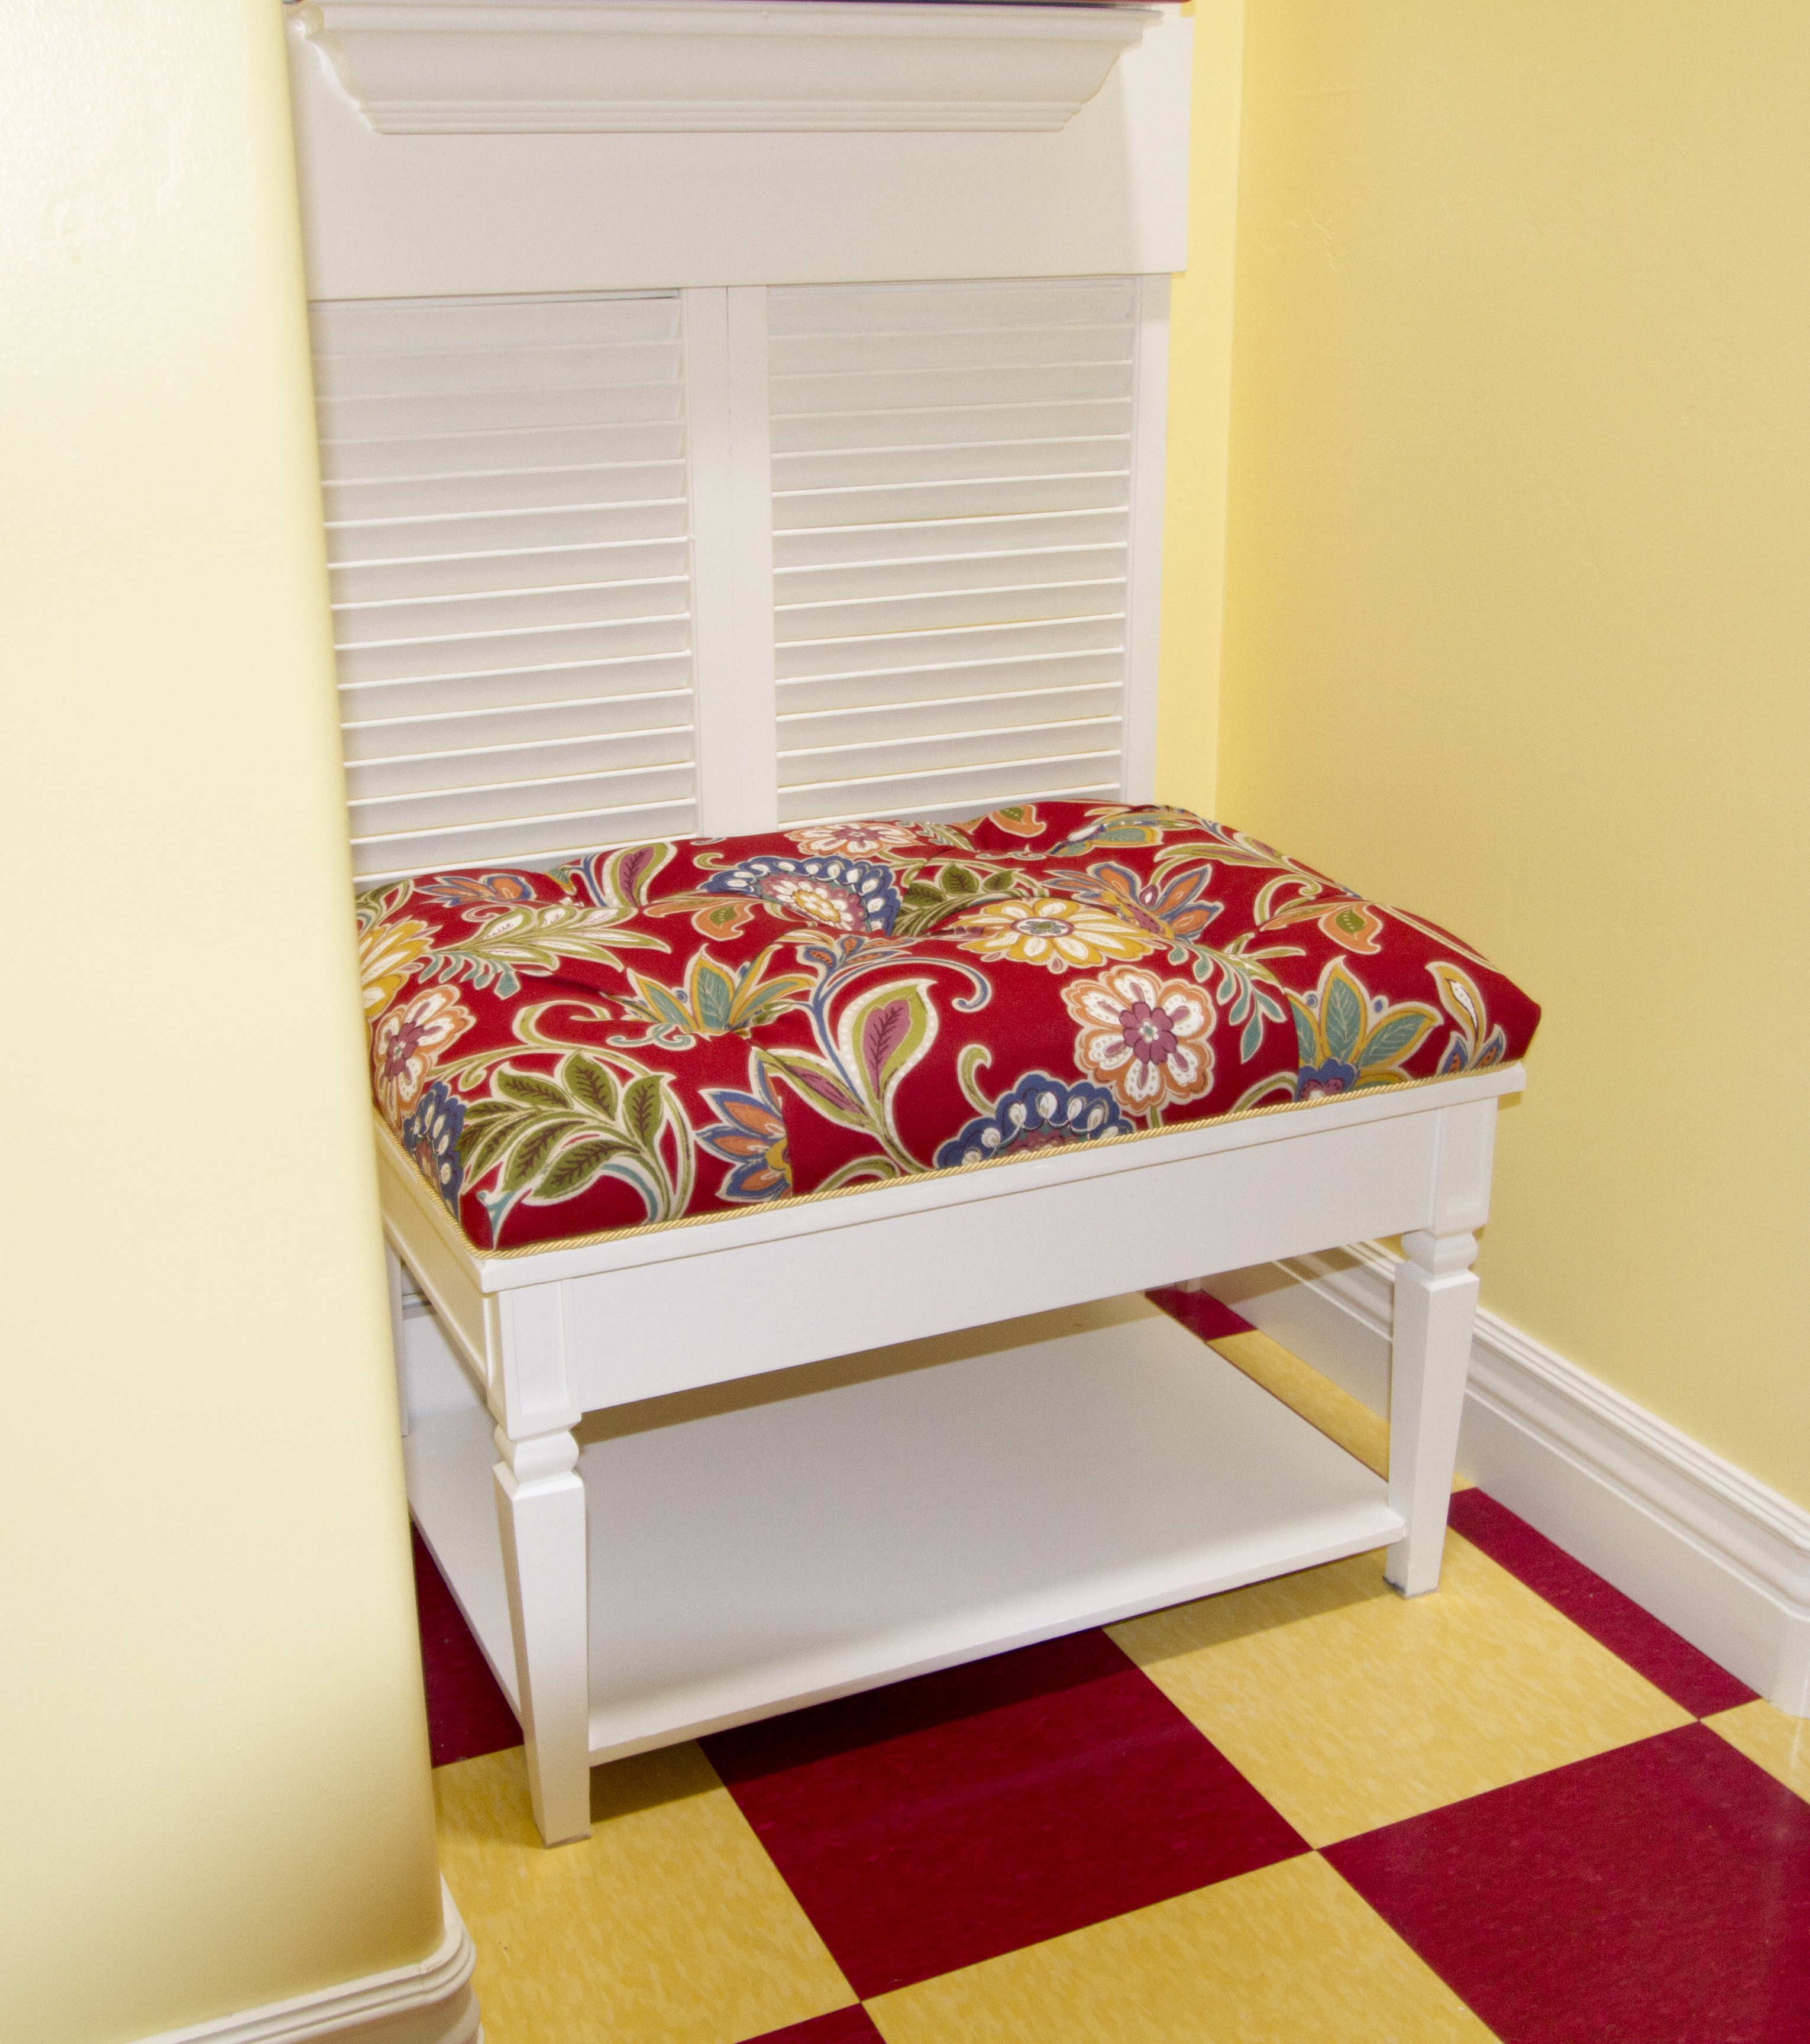
, this bench is made with a 1/2 of a weathered closet shutter door, a thrift store mirror, shelves, an end table, and a couple of hooks.

Before Trash to Treasure Bench http://www.lifeatthecottage.com
The end table was turned sideways and measured for the correct height for a bench. We cut off a few inches to lower it for the proper height. A piece of plywood was cut the same size as the top of the table and holes drilled through both the plywood and table top for tufting.
We sanded and repaired the pieces and painted them. Painting the pieces unifies and hides all the flaws and “repaired damage” in the wood. There are several types of wood used in this project with different finishes so paint was the only way to go as none of the pieces would stain the same. I choose red for the mirror and hooks to compliment my laundry room. Next assemble all the pieces except the plywood. Upholster and tuft the plywood and add trim or piping. Attach plywood top to the table top from underneath.
Trash to Treasure Bench http://www.lifeatthecottage.com
The bench fits in a recessed area in our laundry room. Previously a rickety small bench was there that my husband was sure would break soon. I like this colorful one better and it is much more stable.
Keep Creating,
Mary
