Easter Basket Tutorial
http://www.lifeatthecottage.com
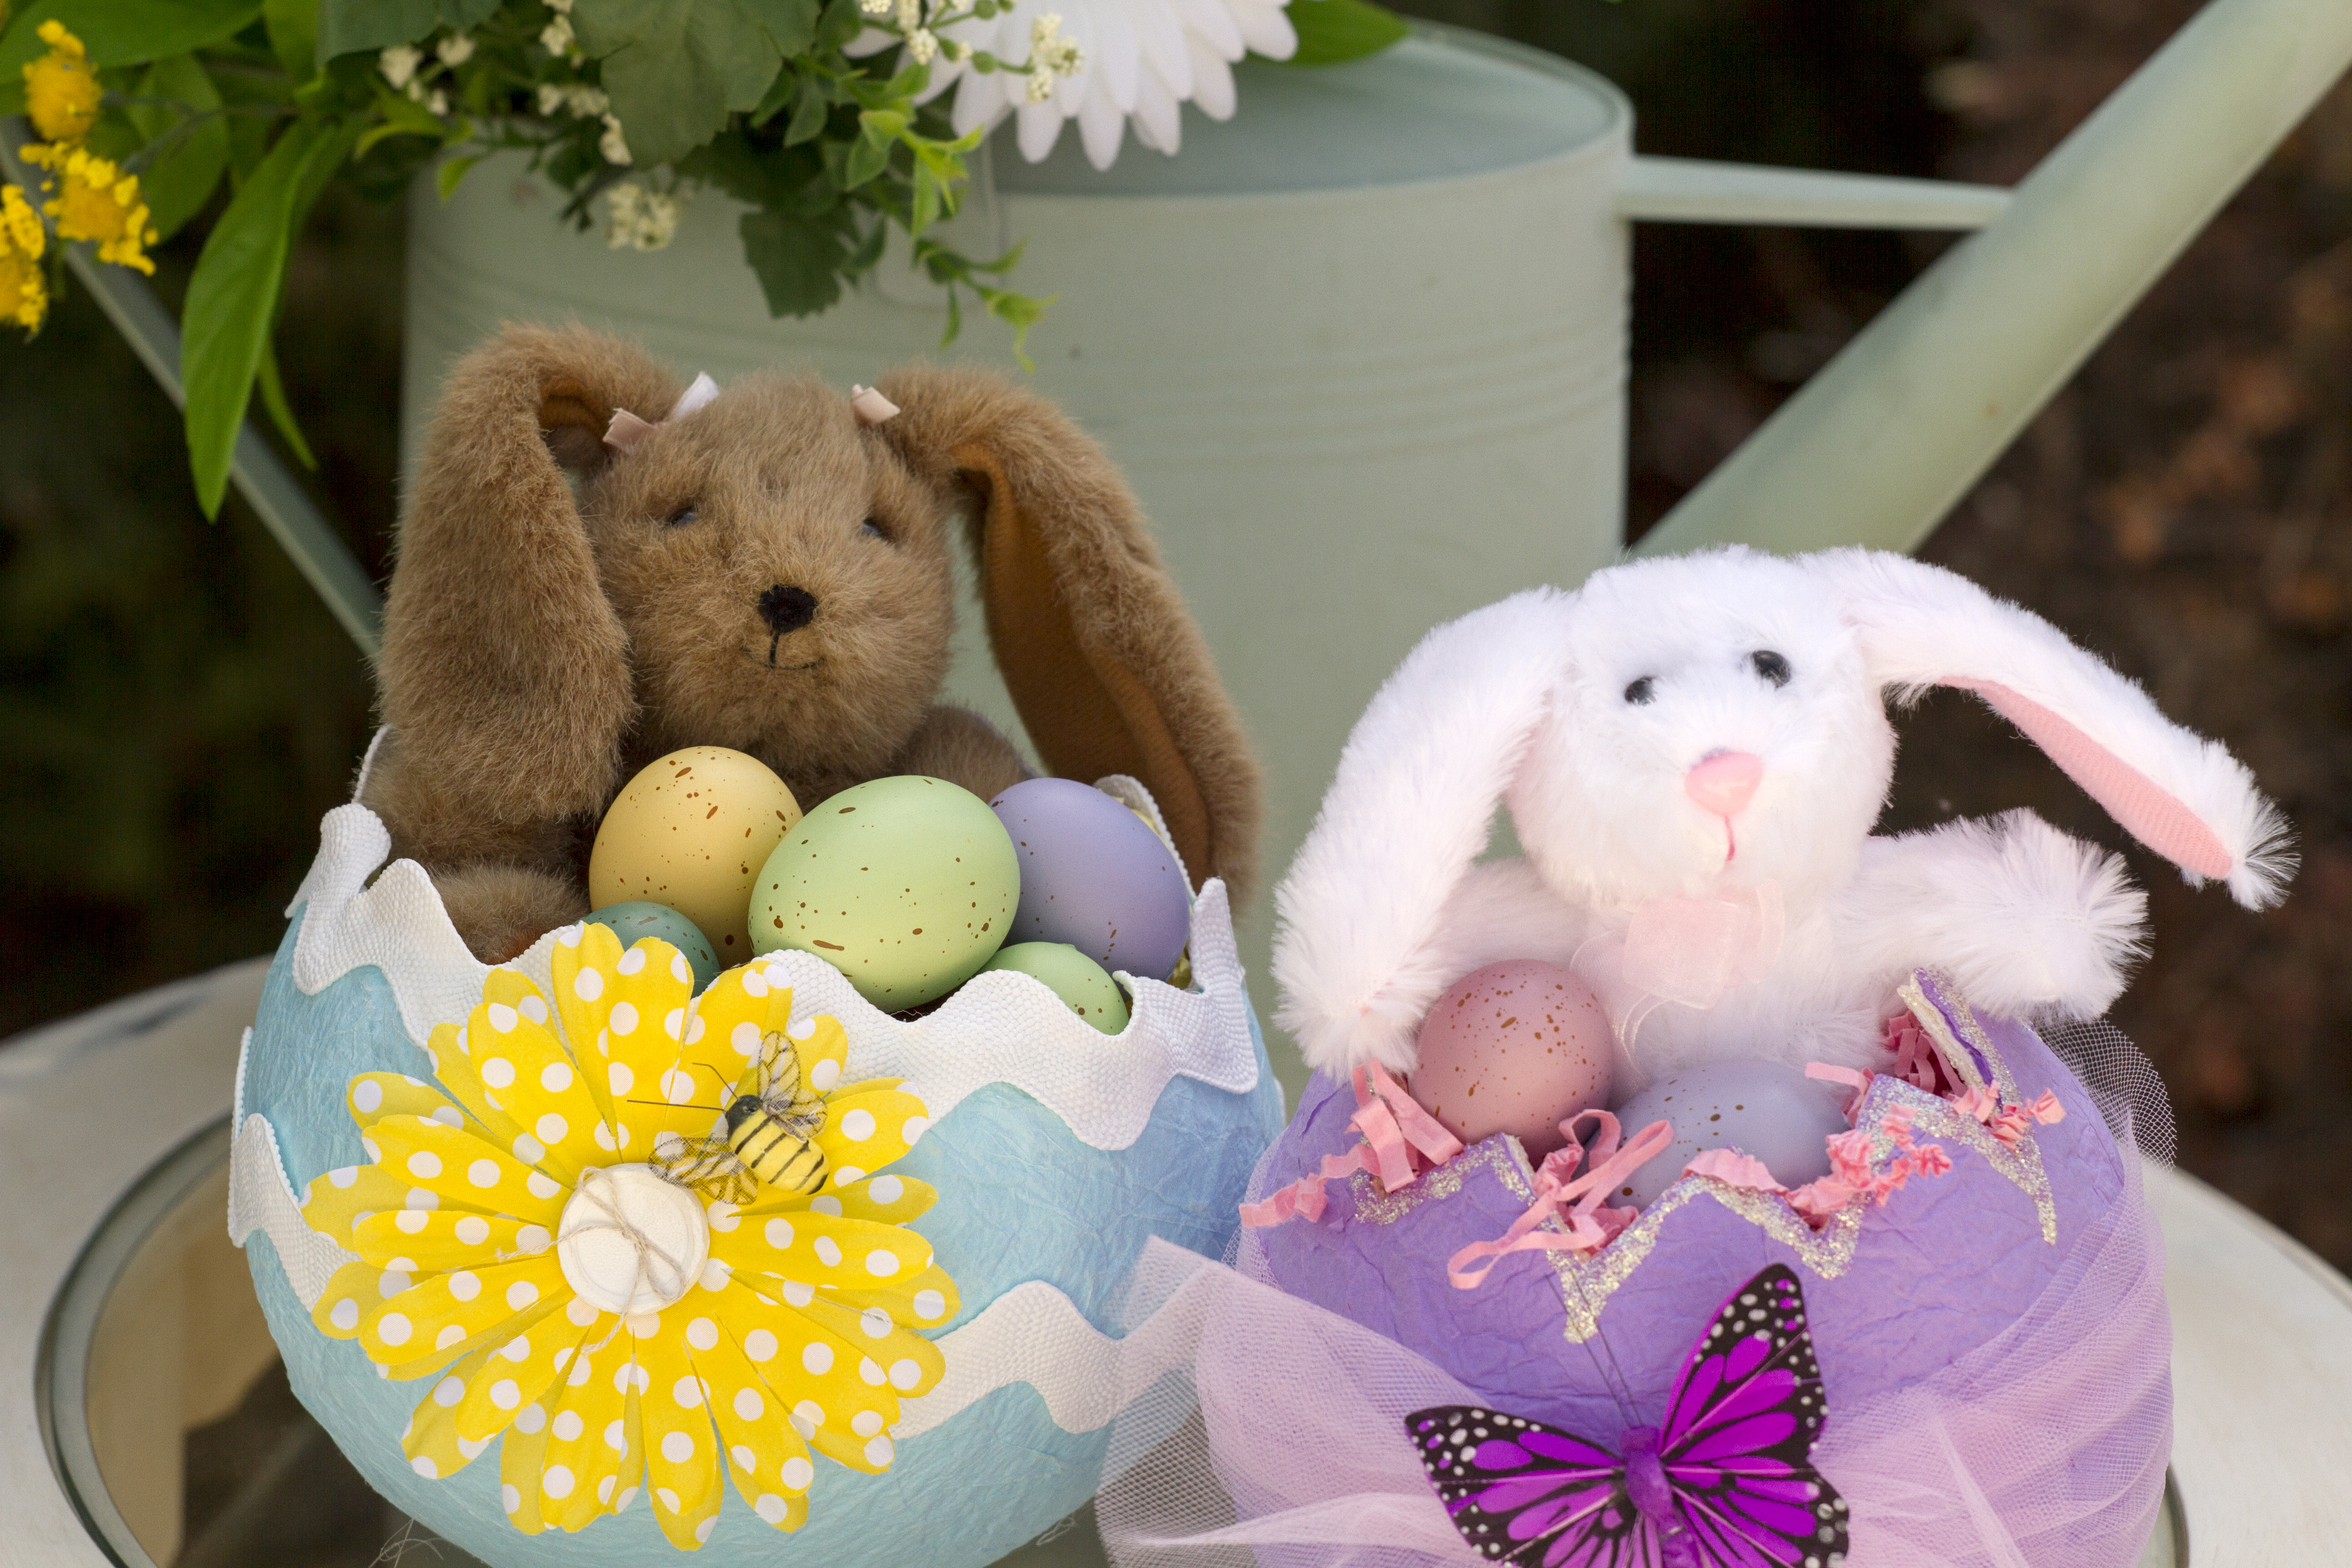
Easter is just a hop, skip and jump away so it’s a perfect occasion for spending some quality family time dying eggs and doing crafts. Kids love crafts and getting messy so creating tissue egg baskets is an ideal family project.
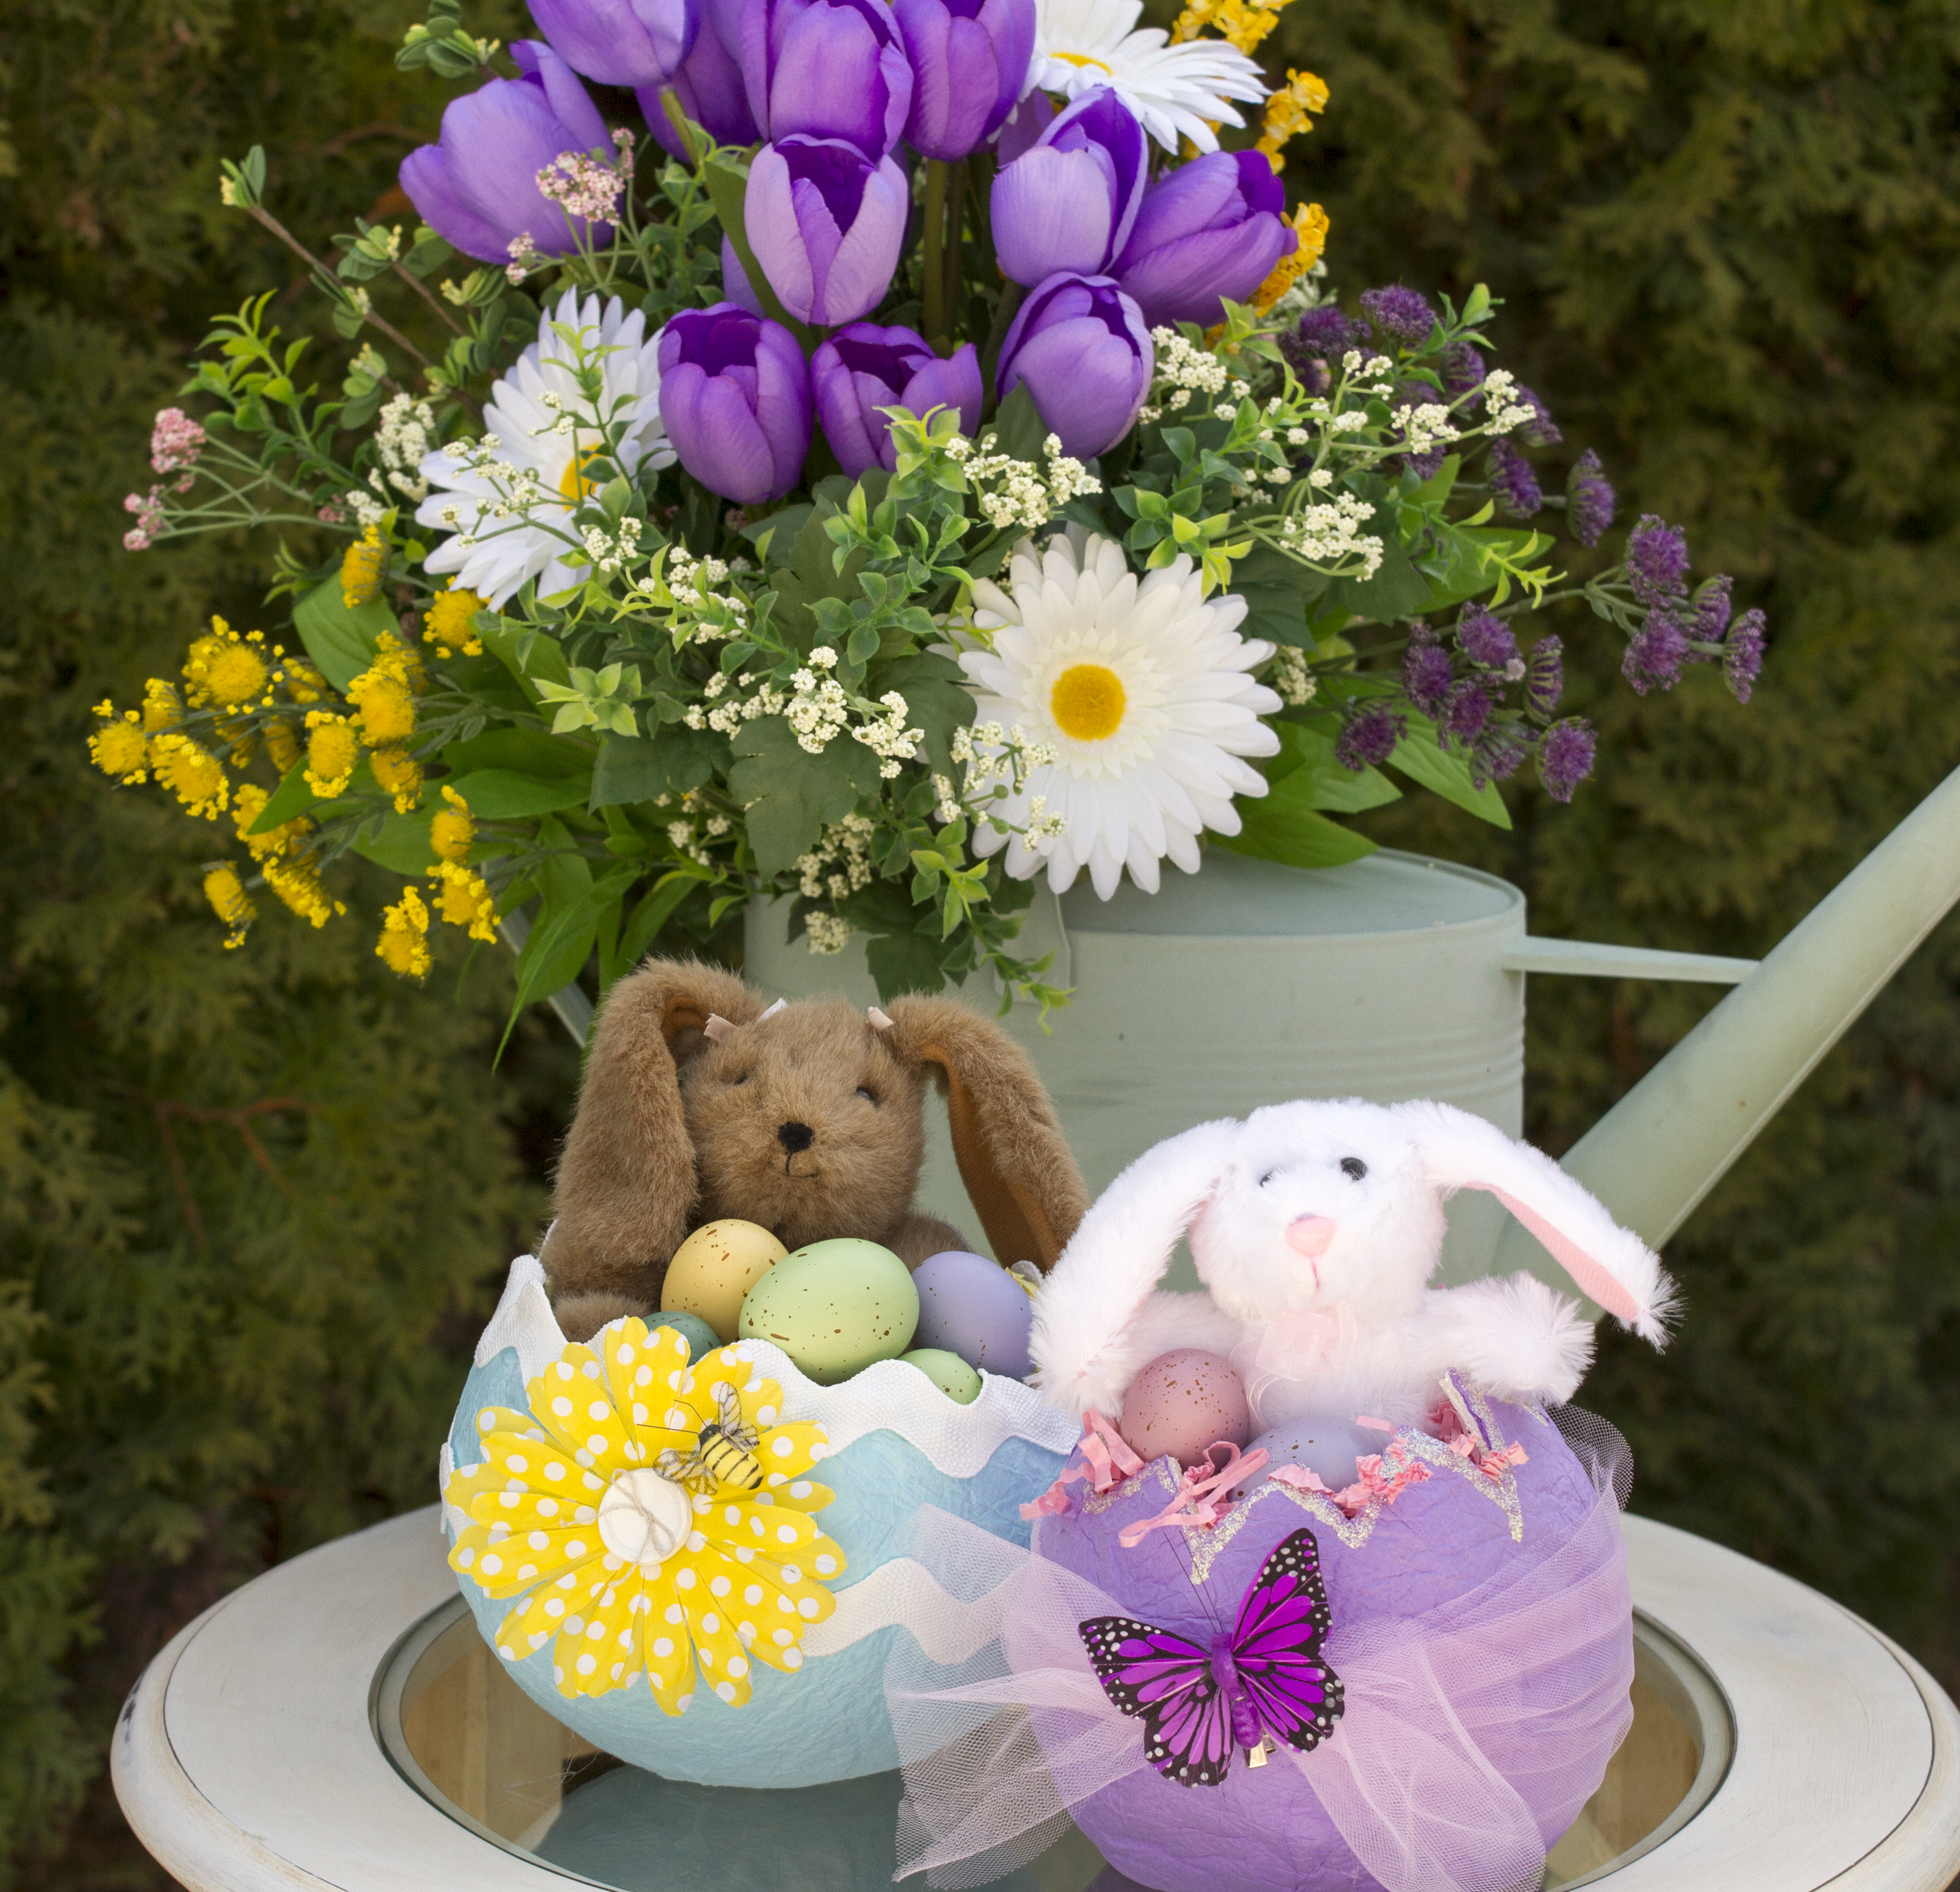
Spread out some newspaper, gather a few supplies and get creative! Egg baskets are a great way to personalize your Easter decor. These whimsical eggs can hold chocolate bunnies, peeps, eggs and other treats for the kids. Use them to create a colorful centerpiece with a vase of spring flowers tucked inside. Who says we have to give candy and gifts in plain ordinary Easter baskets!
Supplies
- Balloons
- Masking tape
- Water mixed with glue
- Small paint brush
- Tissue paper (decorative or plain) or book pages, newspaper, etc.
- Toilet paper
- Scissors
- Trims of choice
- Easter grass
- Easter candy or flowers
- Glue or Glue Gun to attach trims
Blow up oval balloons to the size you would like your Easter egg basket to be. Tie the balloon off and put a piece of masking tape on the tied end of the balloon to flatten it. Tear tissue paper (or other choice of papers) into smaller strips about 3 to 5 inches.
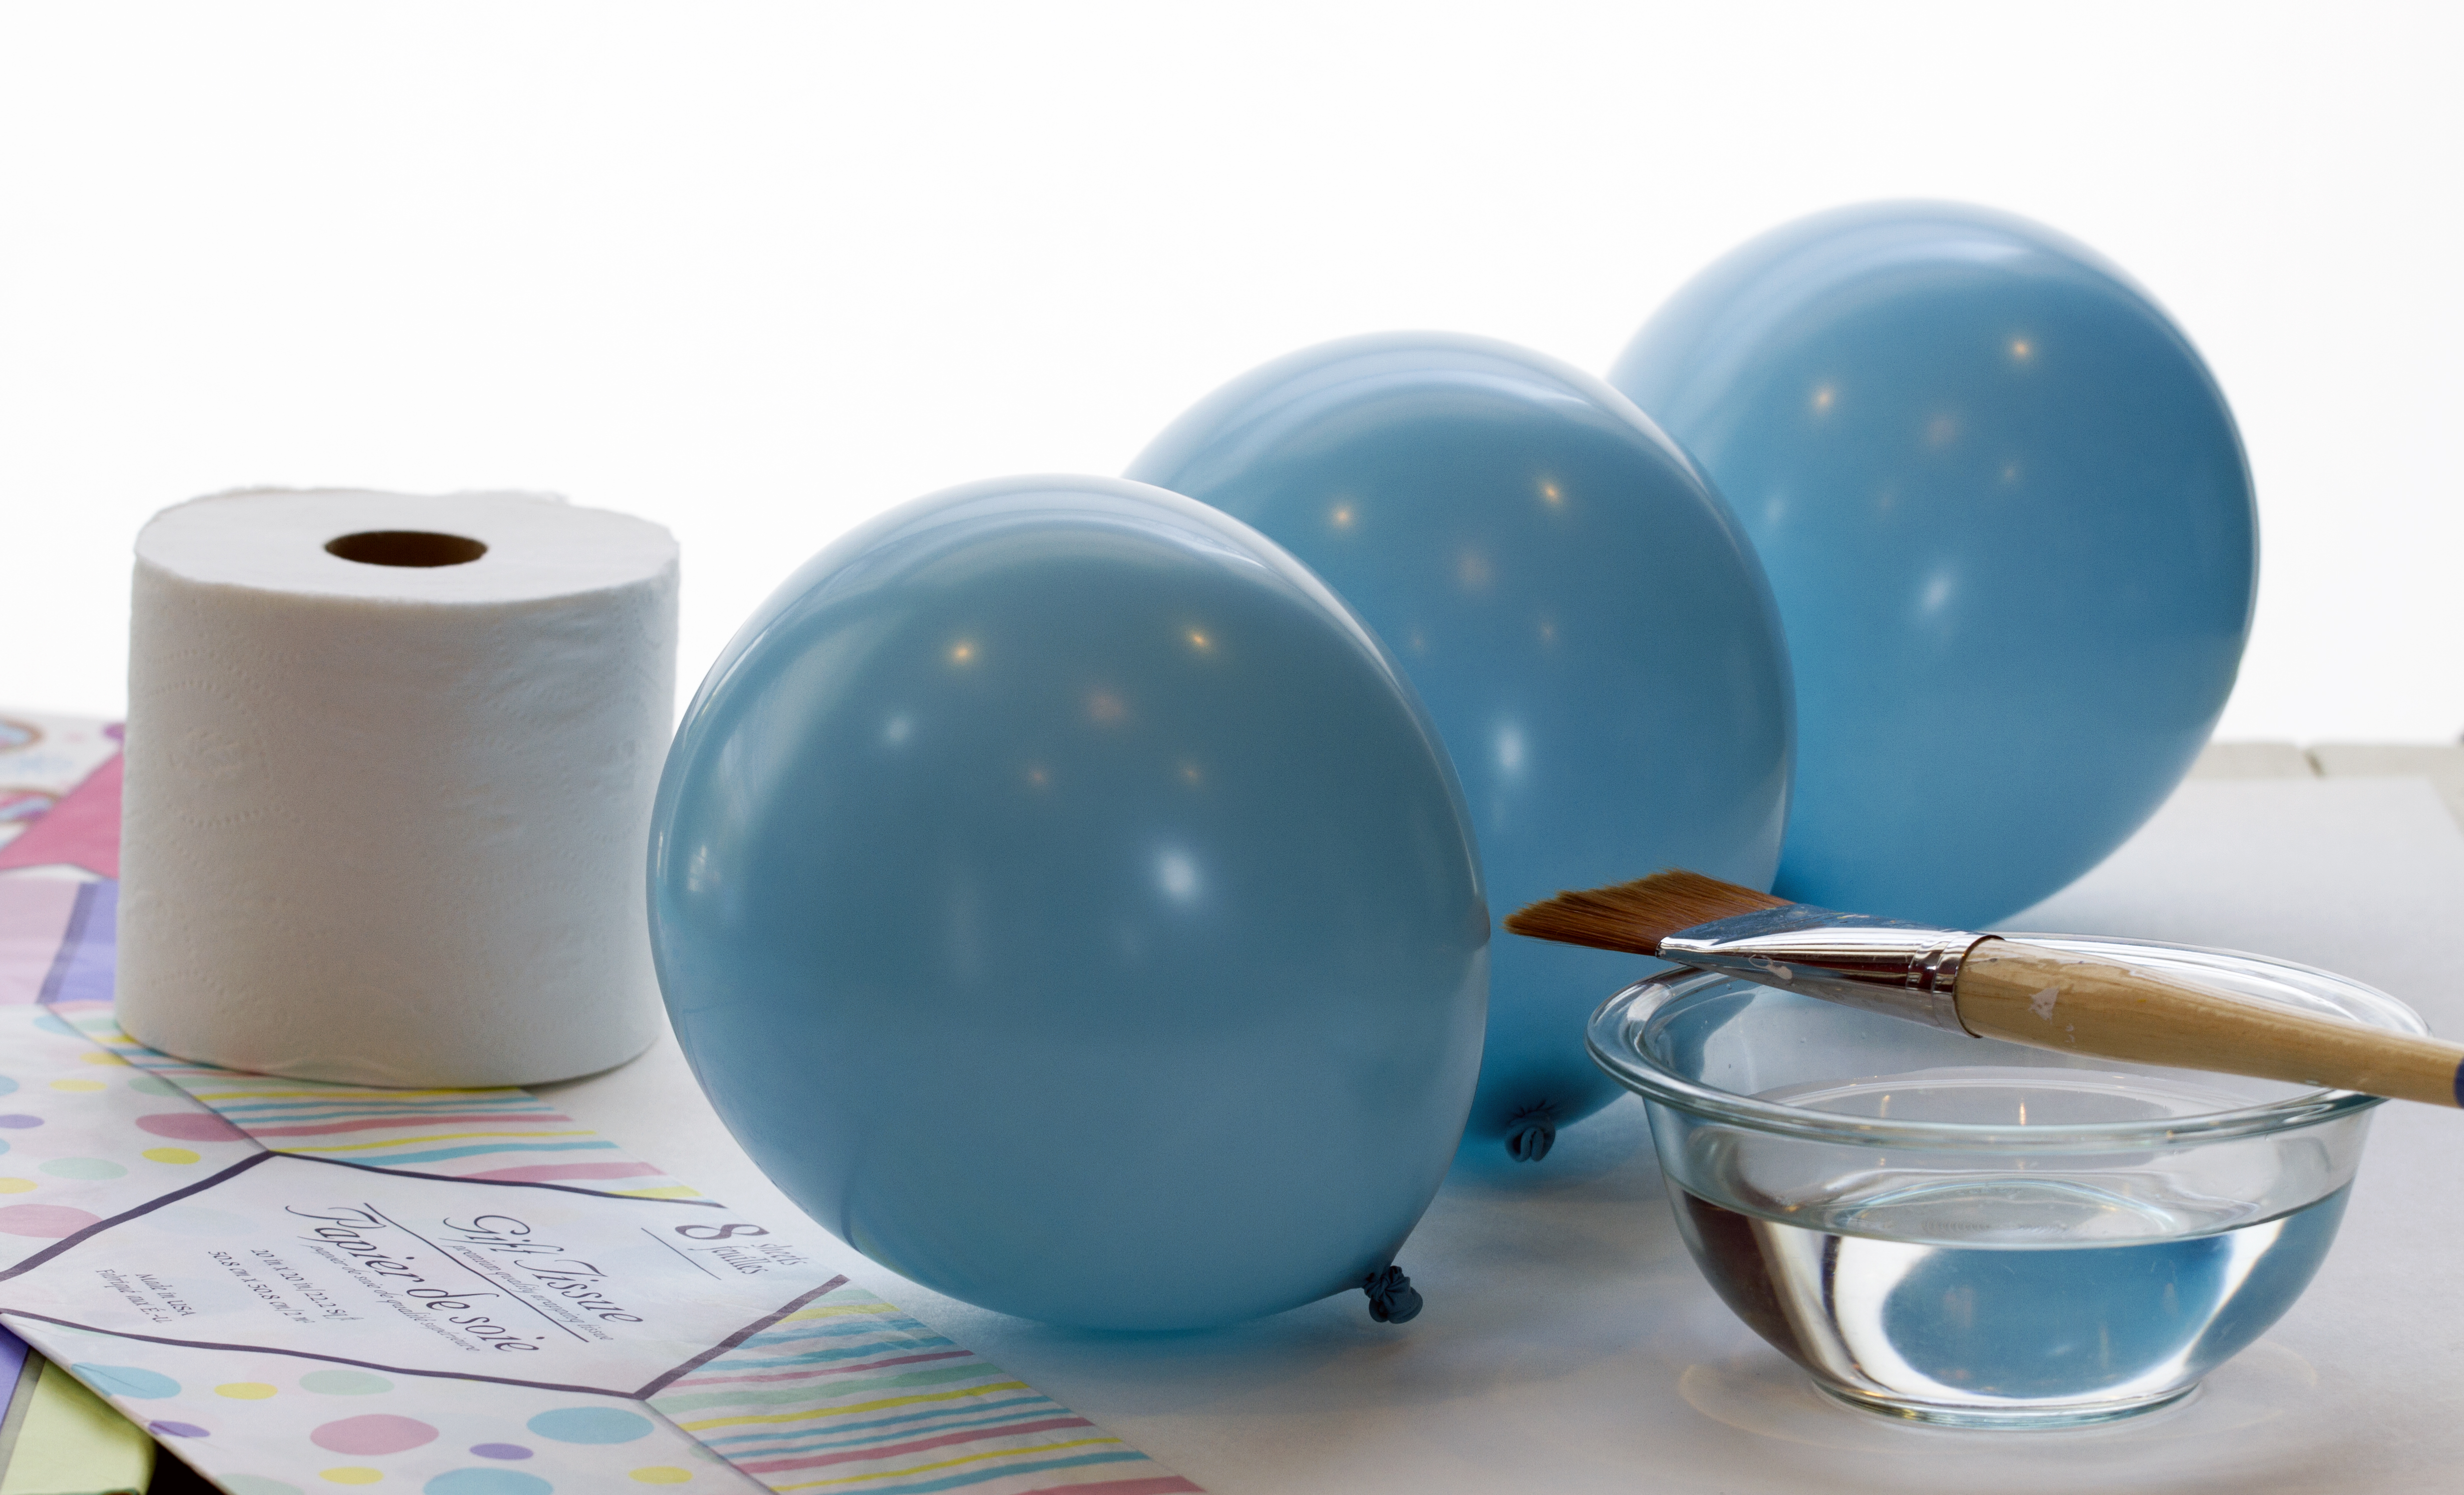
Supplies
http://www.lifeatthecottage.com
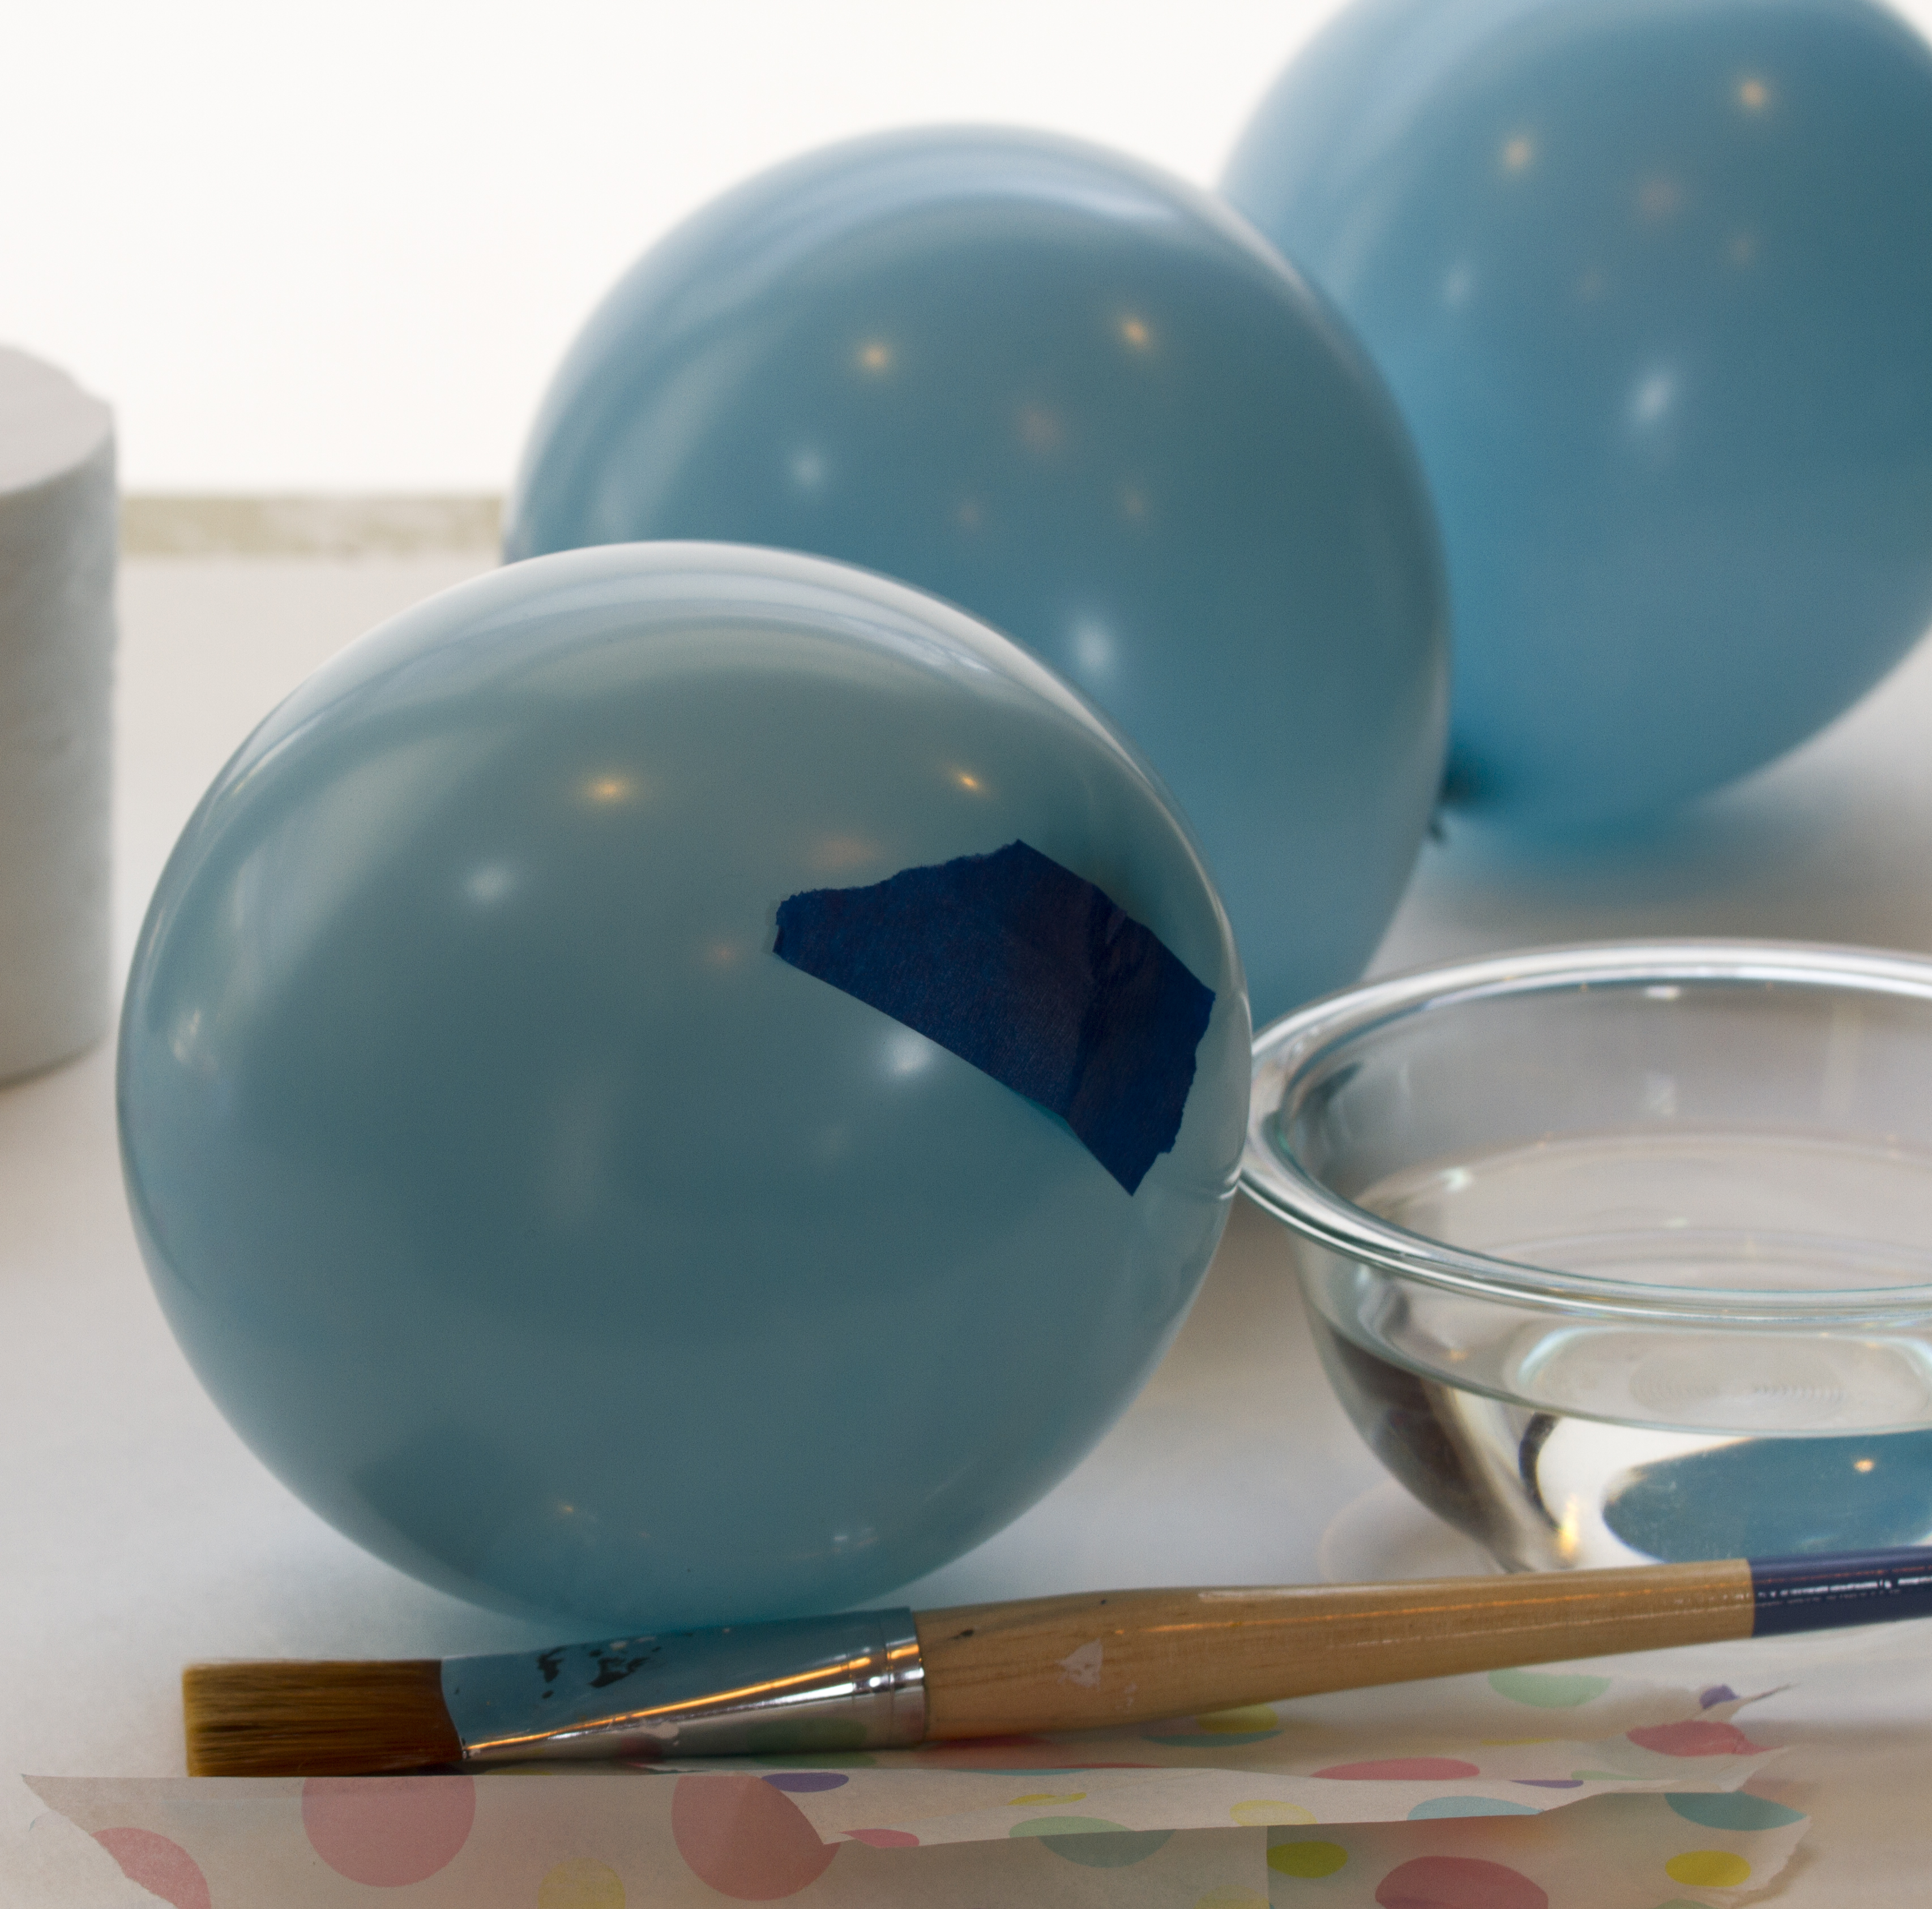
Tape off tied end of balloon http://www.lifeatthecottage.com
Brush a mixture of watered down glue on a small area of the balloon and place decorative tissue paper “right” side down on the balloon (the right side of the decorative paper will show once you cut the egg open). Brush water/glue on top of the tissue paper sticking the tissue to the balloon. Repeat covering the entire balloon while making sure to overlap paper. This will be the inside of the basket.
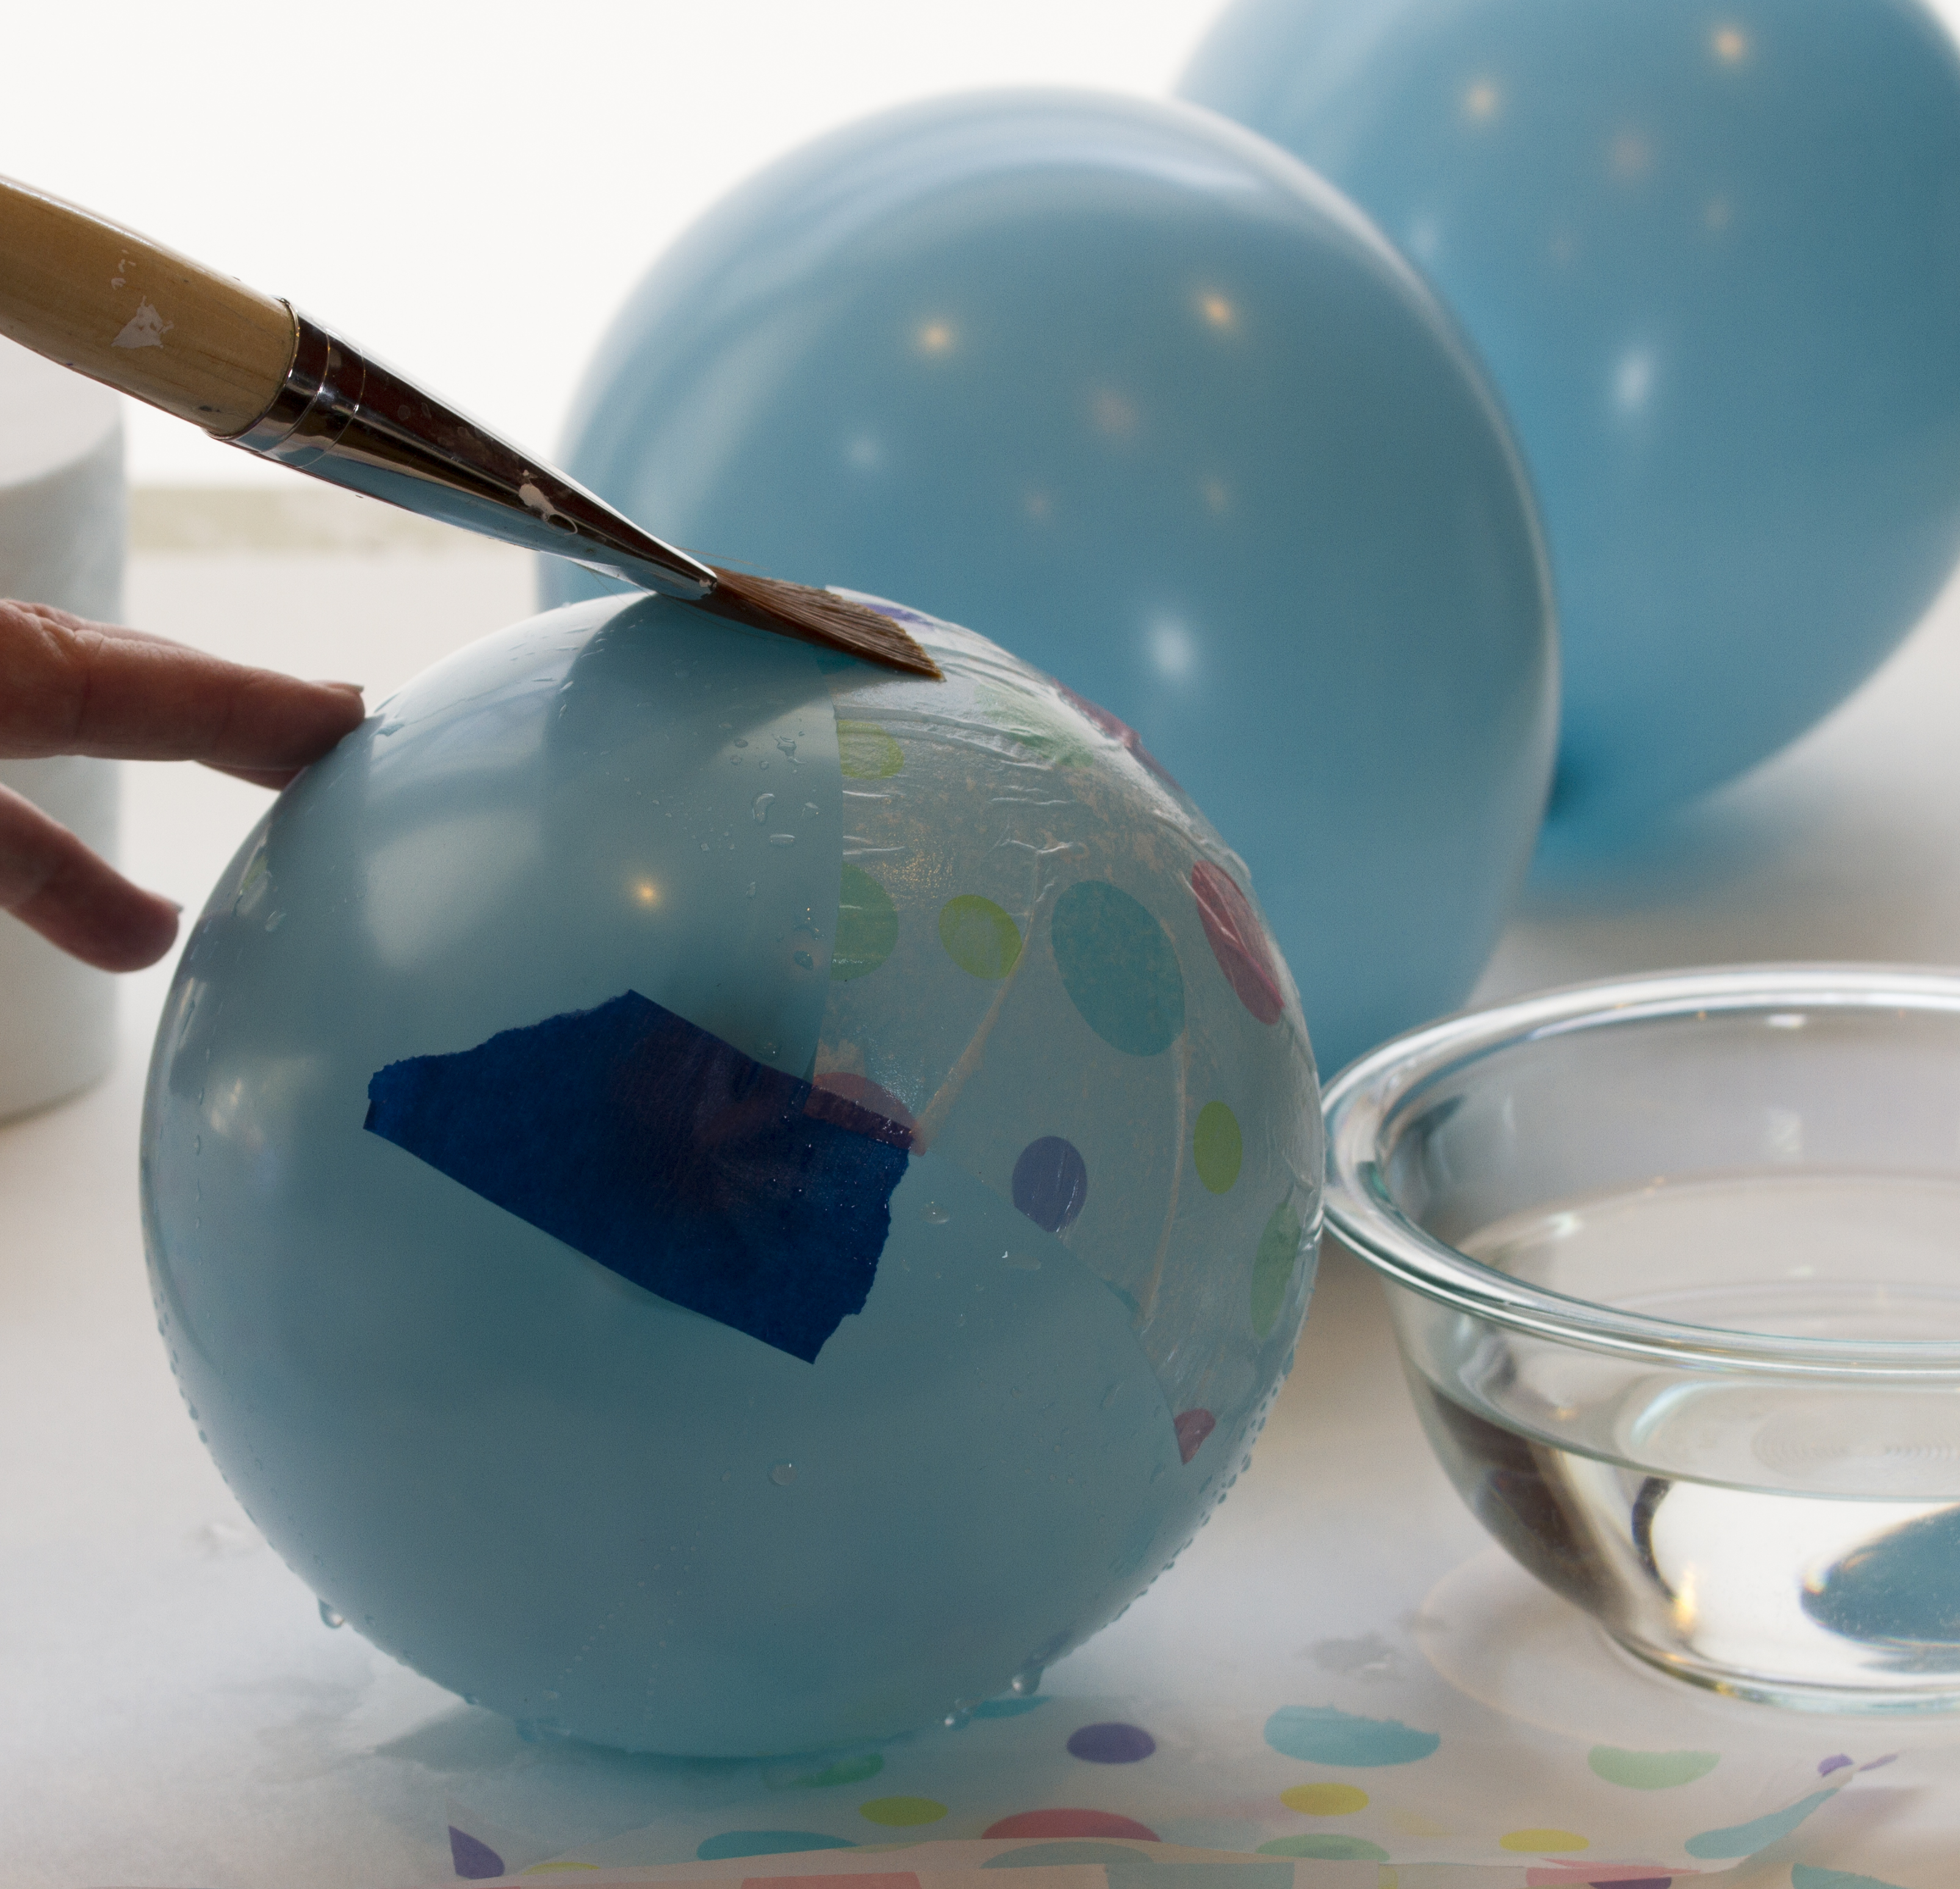
Add tissue wrong side down http://www.lifeatthecottage.com
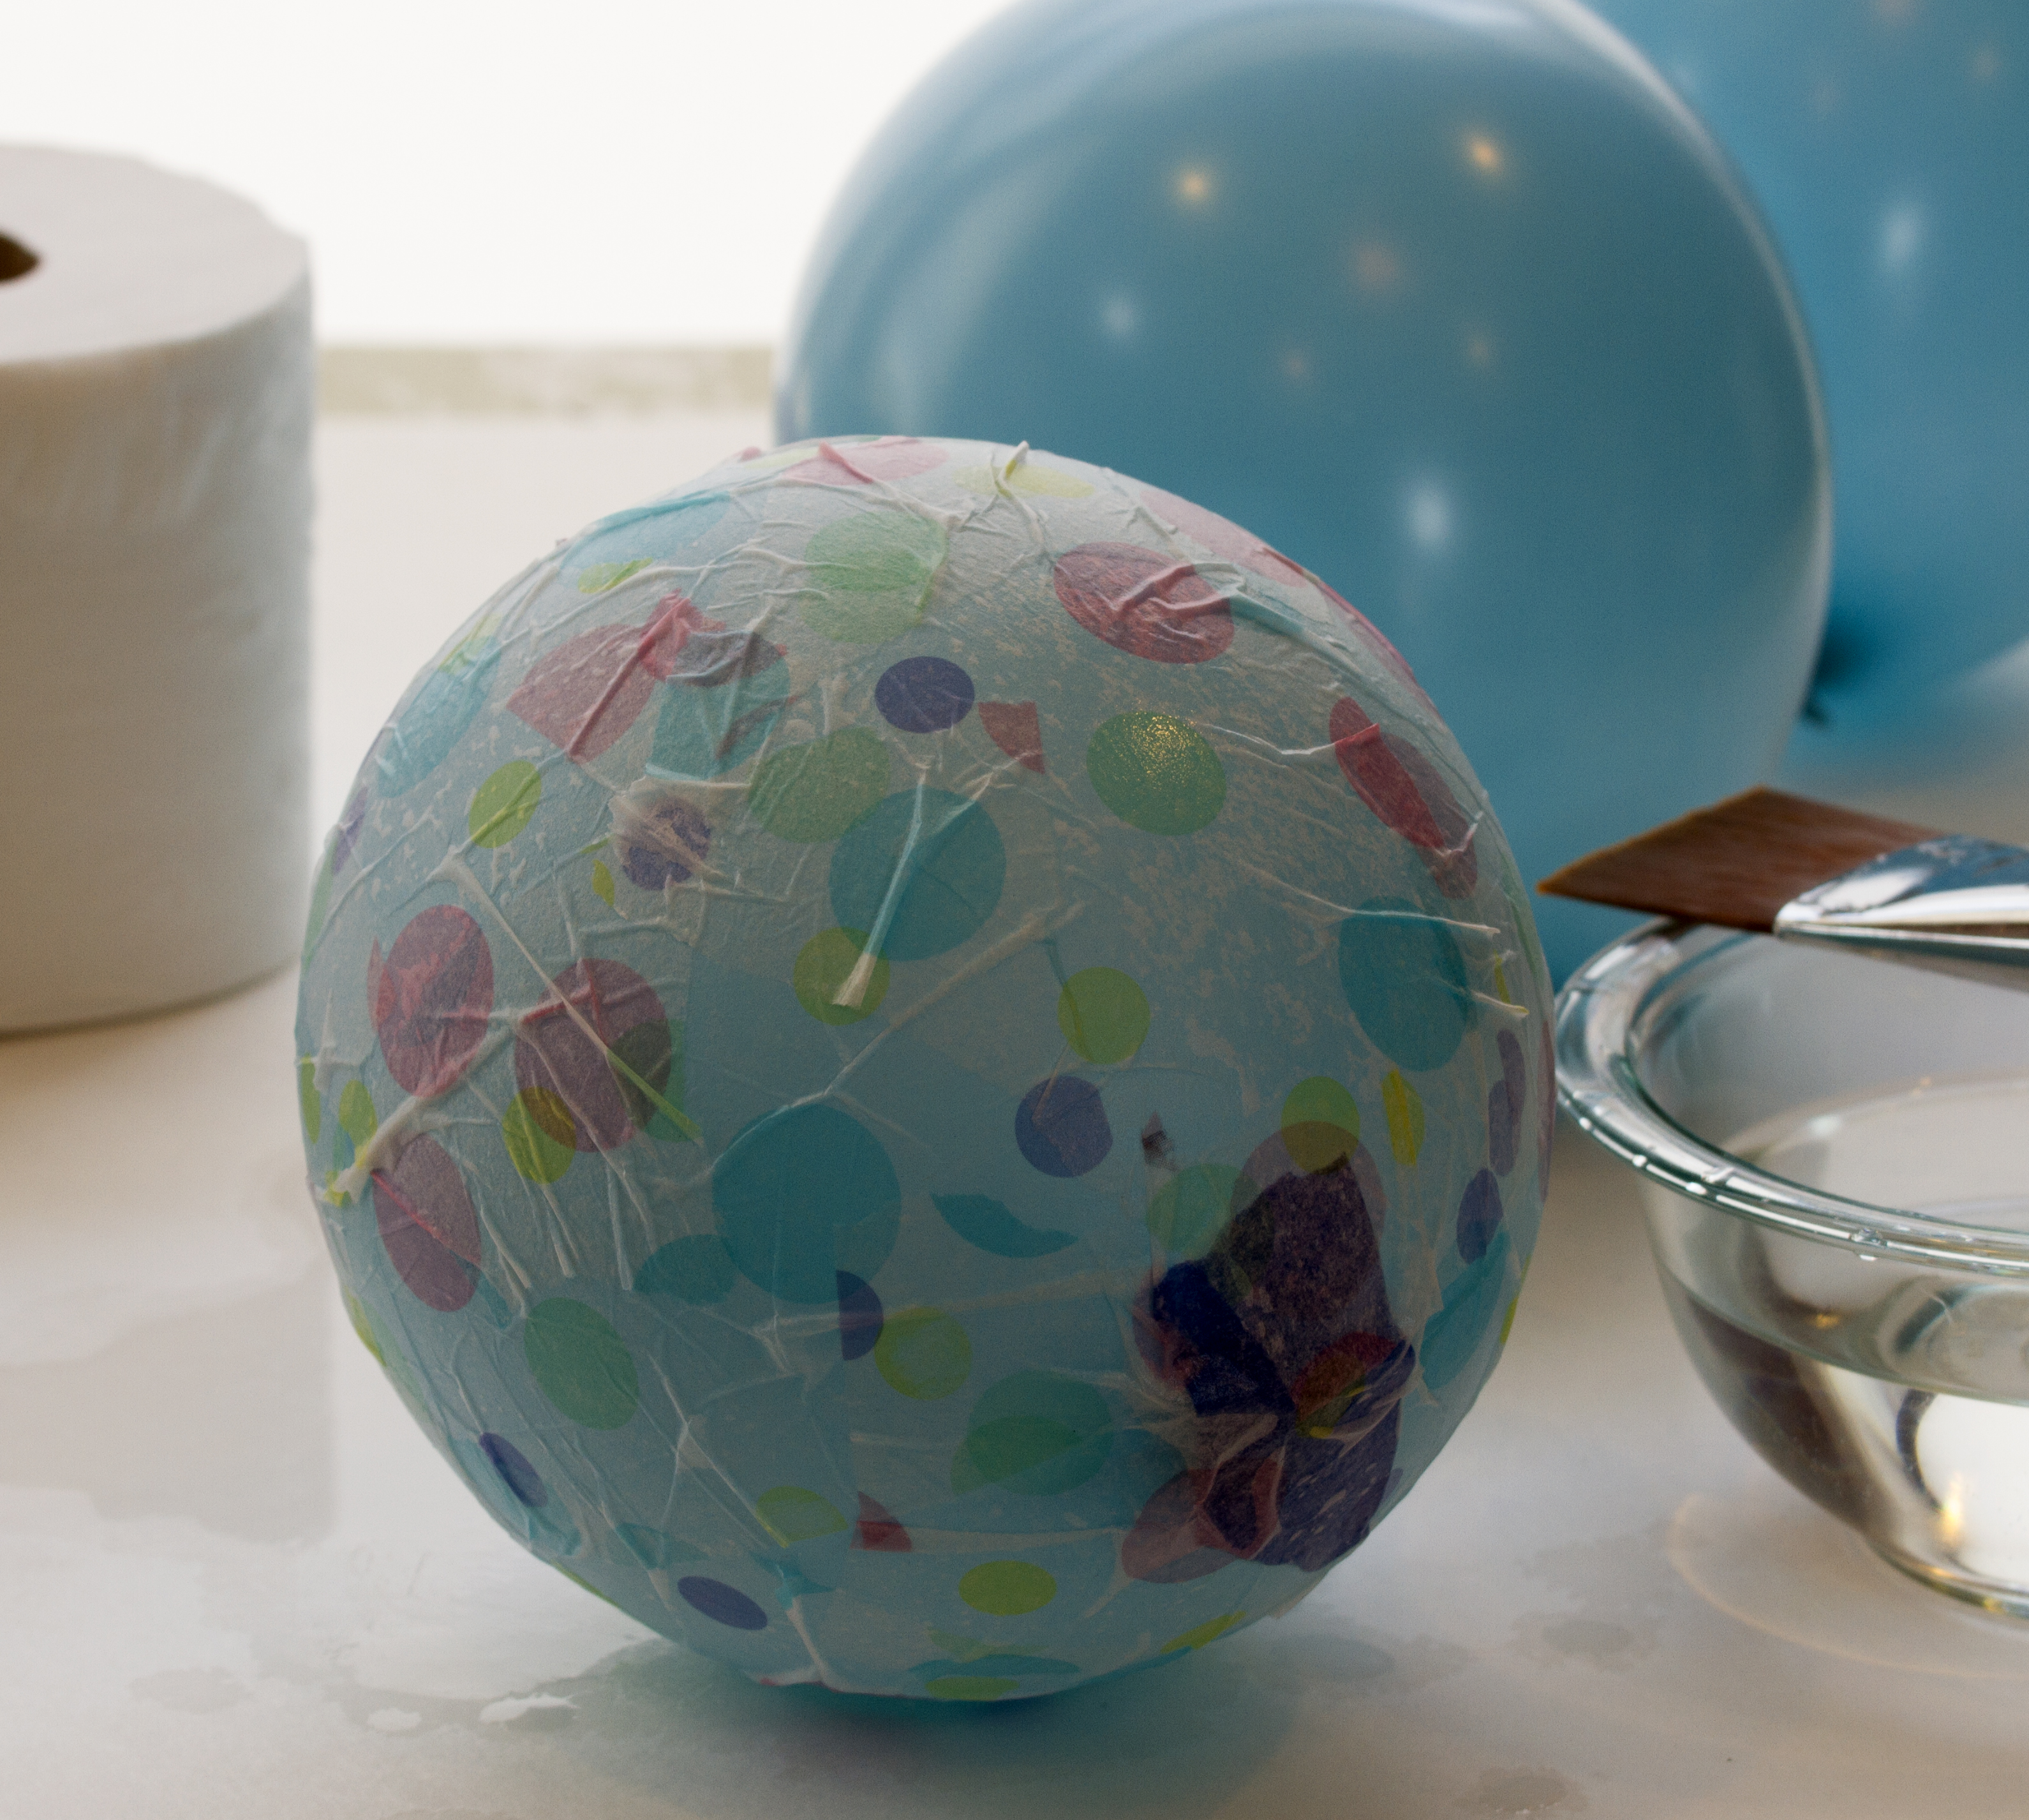
Cover entire balloon with tissue http://www.lifeatthecottage.com
Next wrap toilet paper around the tissue covered balloon making sure to cover entire balloon. Brush with water/glue to saturate and stick the paper to the first layer of tissue paper. Cover and brush with water/glue about 4 layers of toilet paper total.
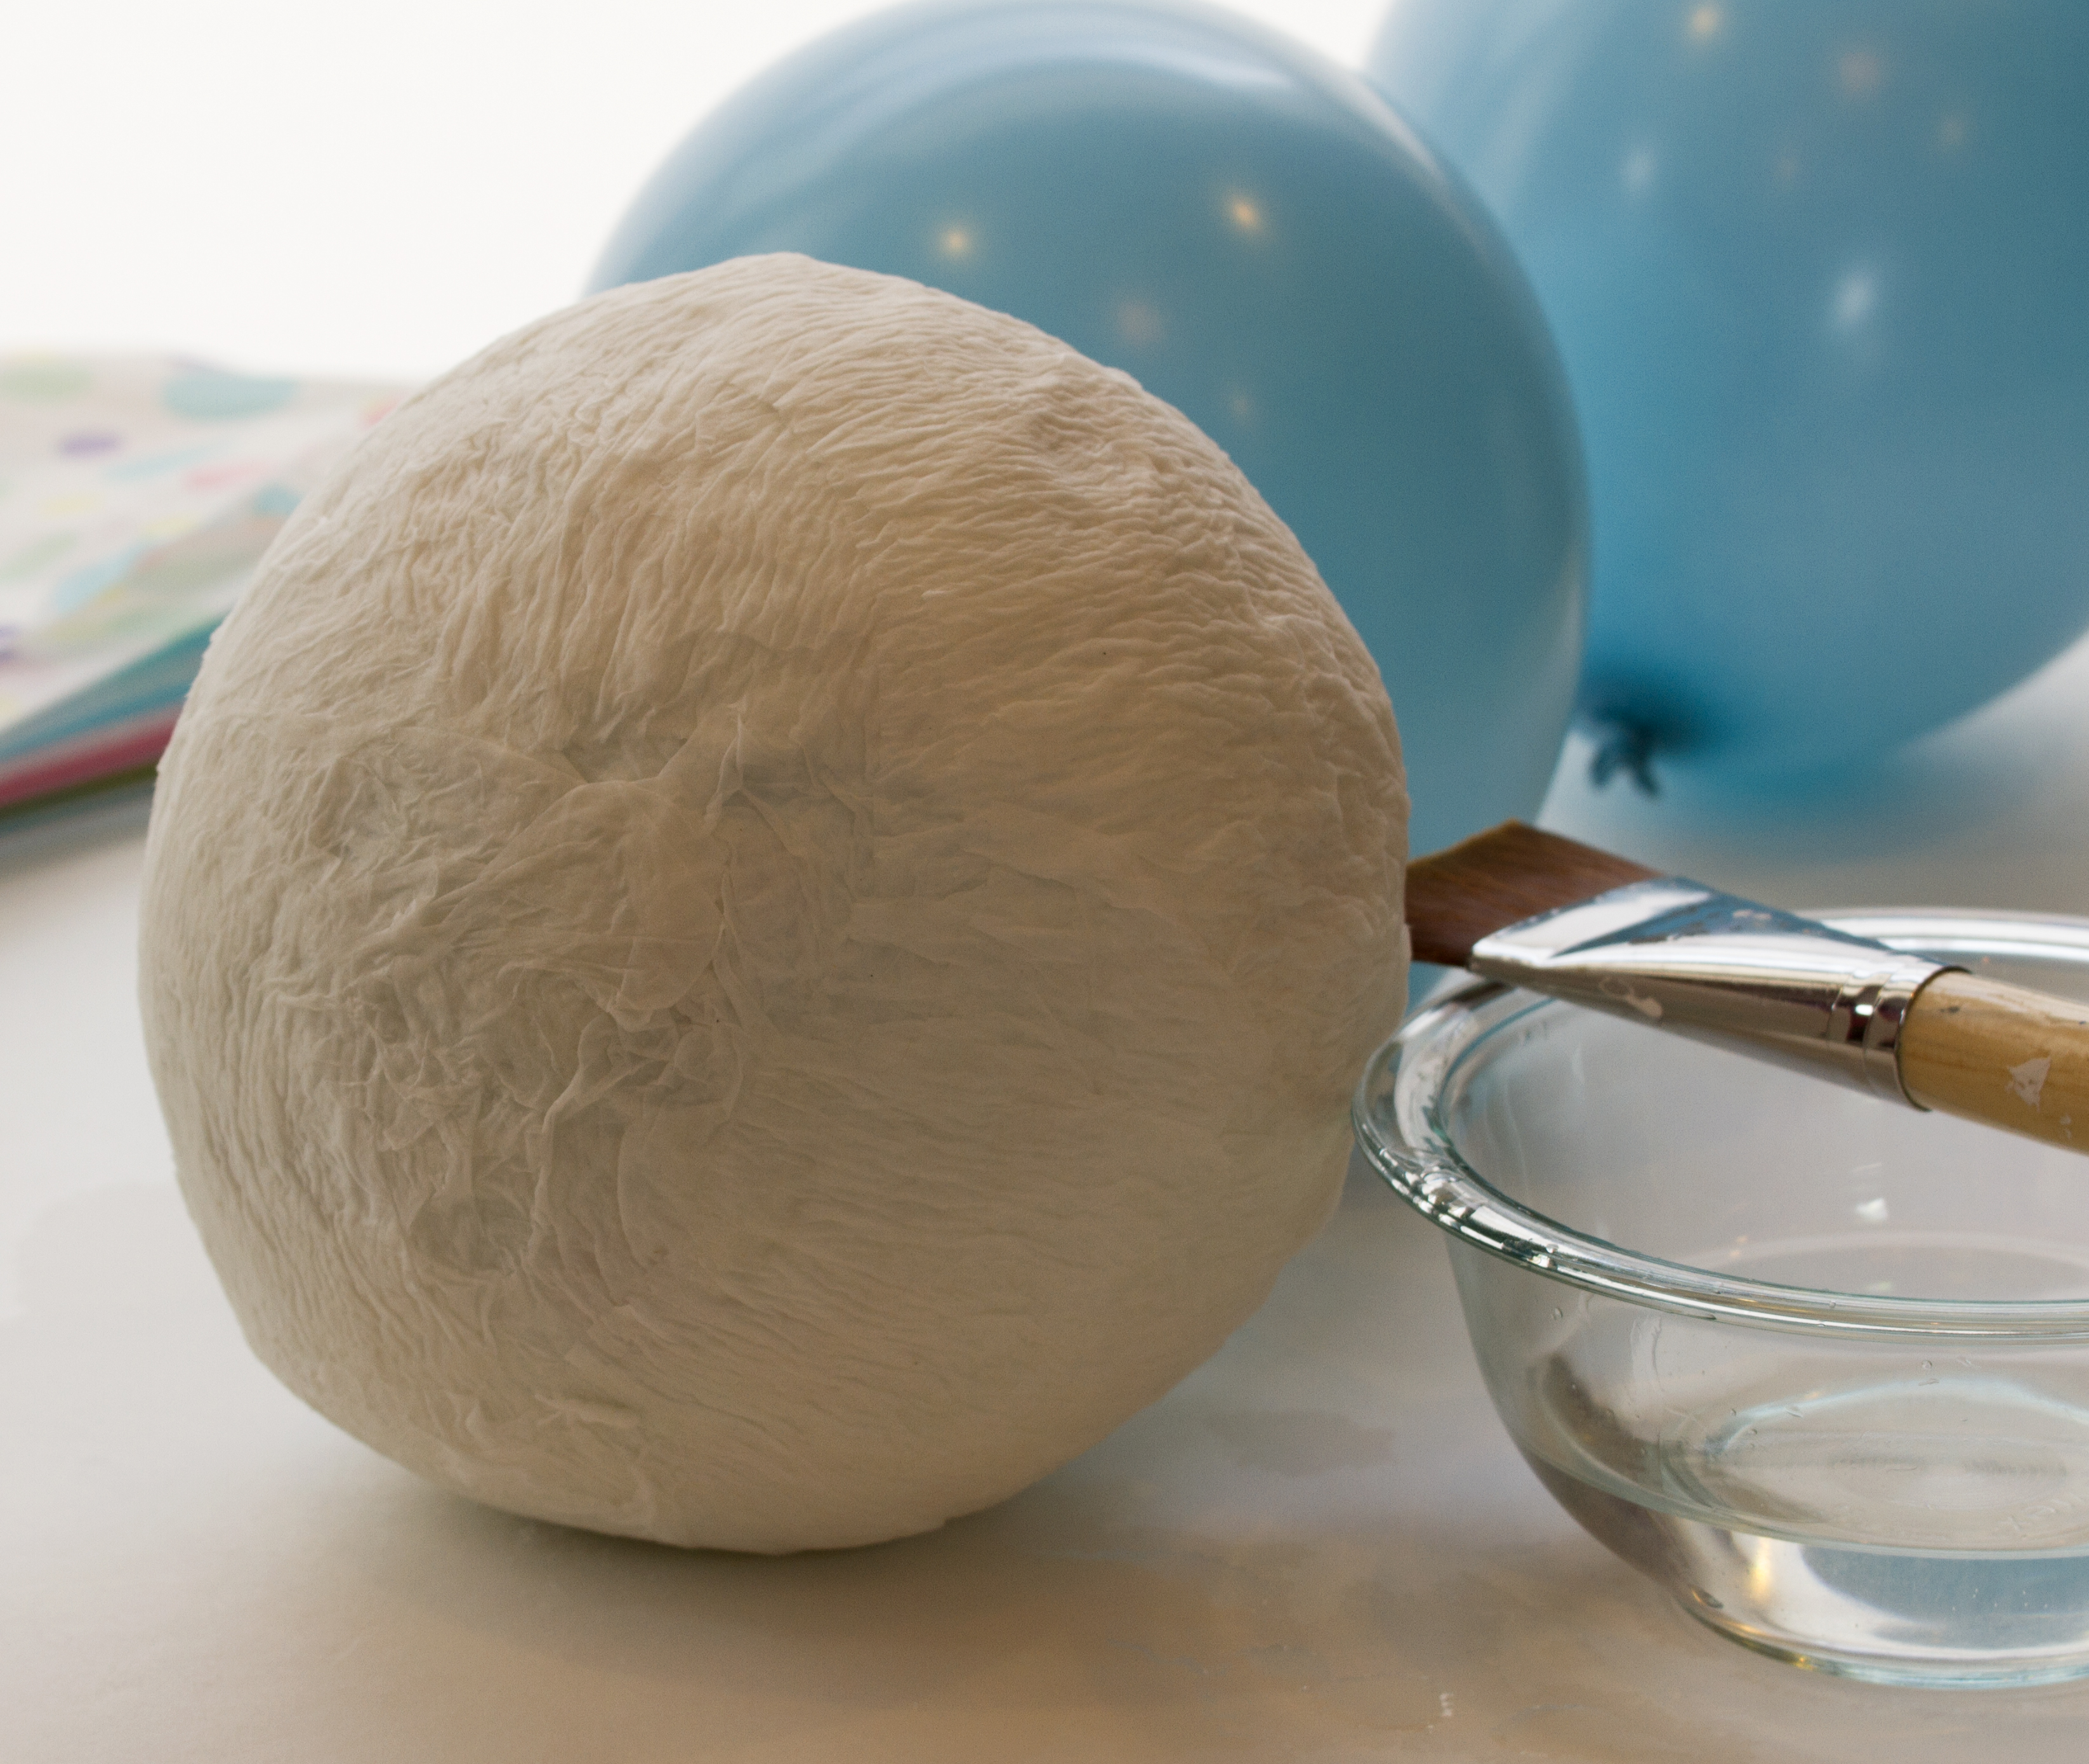
Cover with toilet paper http://www.lifeatthecottage.com
Then cover the entire balloon with the decorative tissue paper as the final layer. (I used a solid blue on the outside so I covered the balloon with several layers of blue tissue until the color was a solid color and not splotchy.) Make sure the pattern is right side out if using a pattern and brush with water/glue.
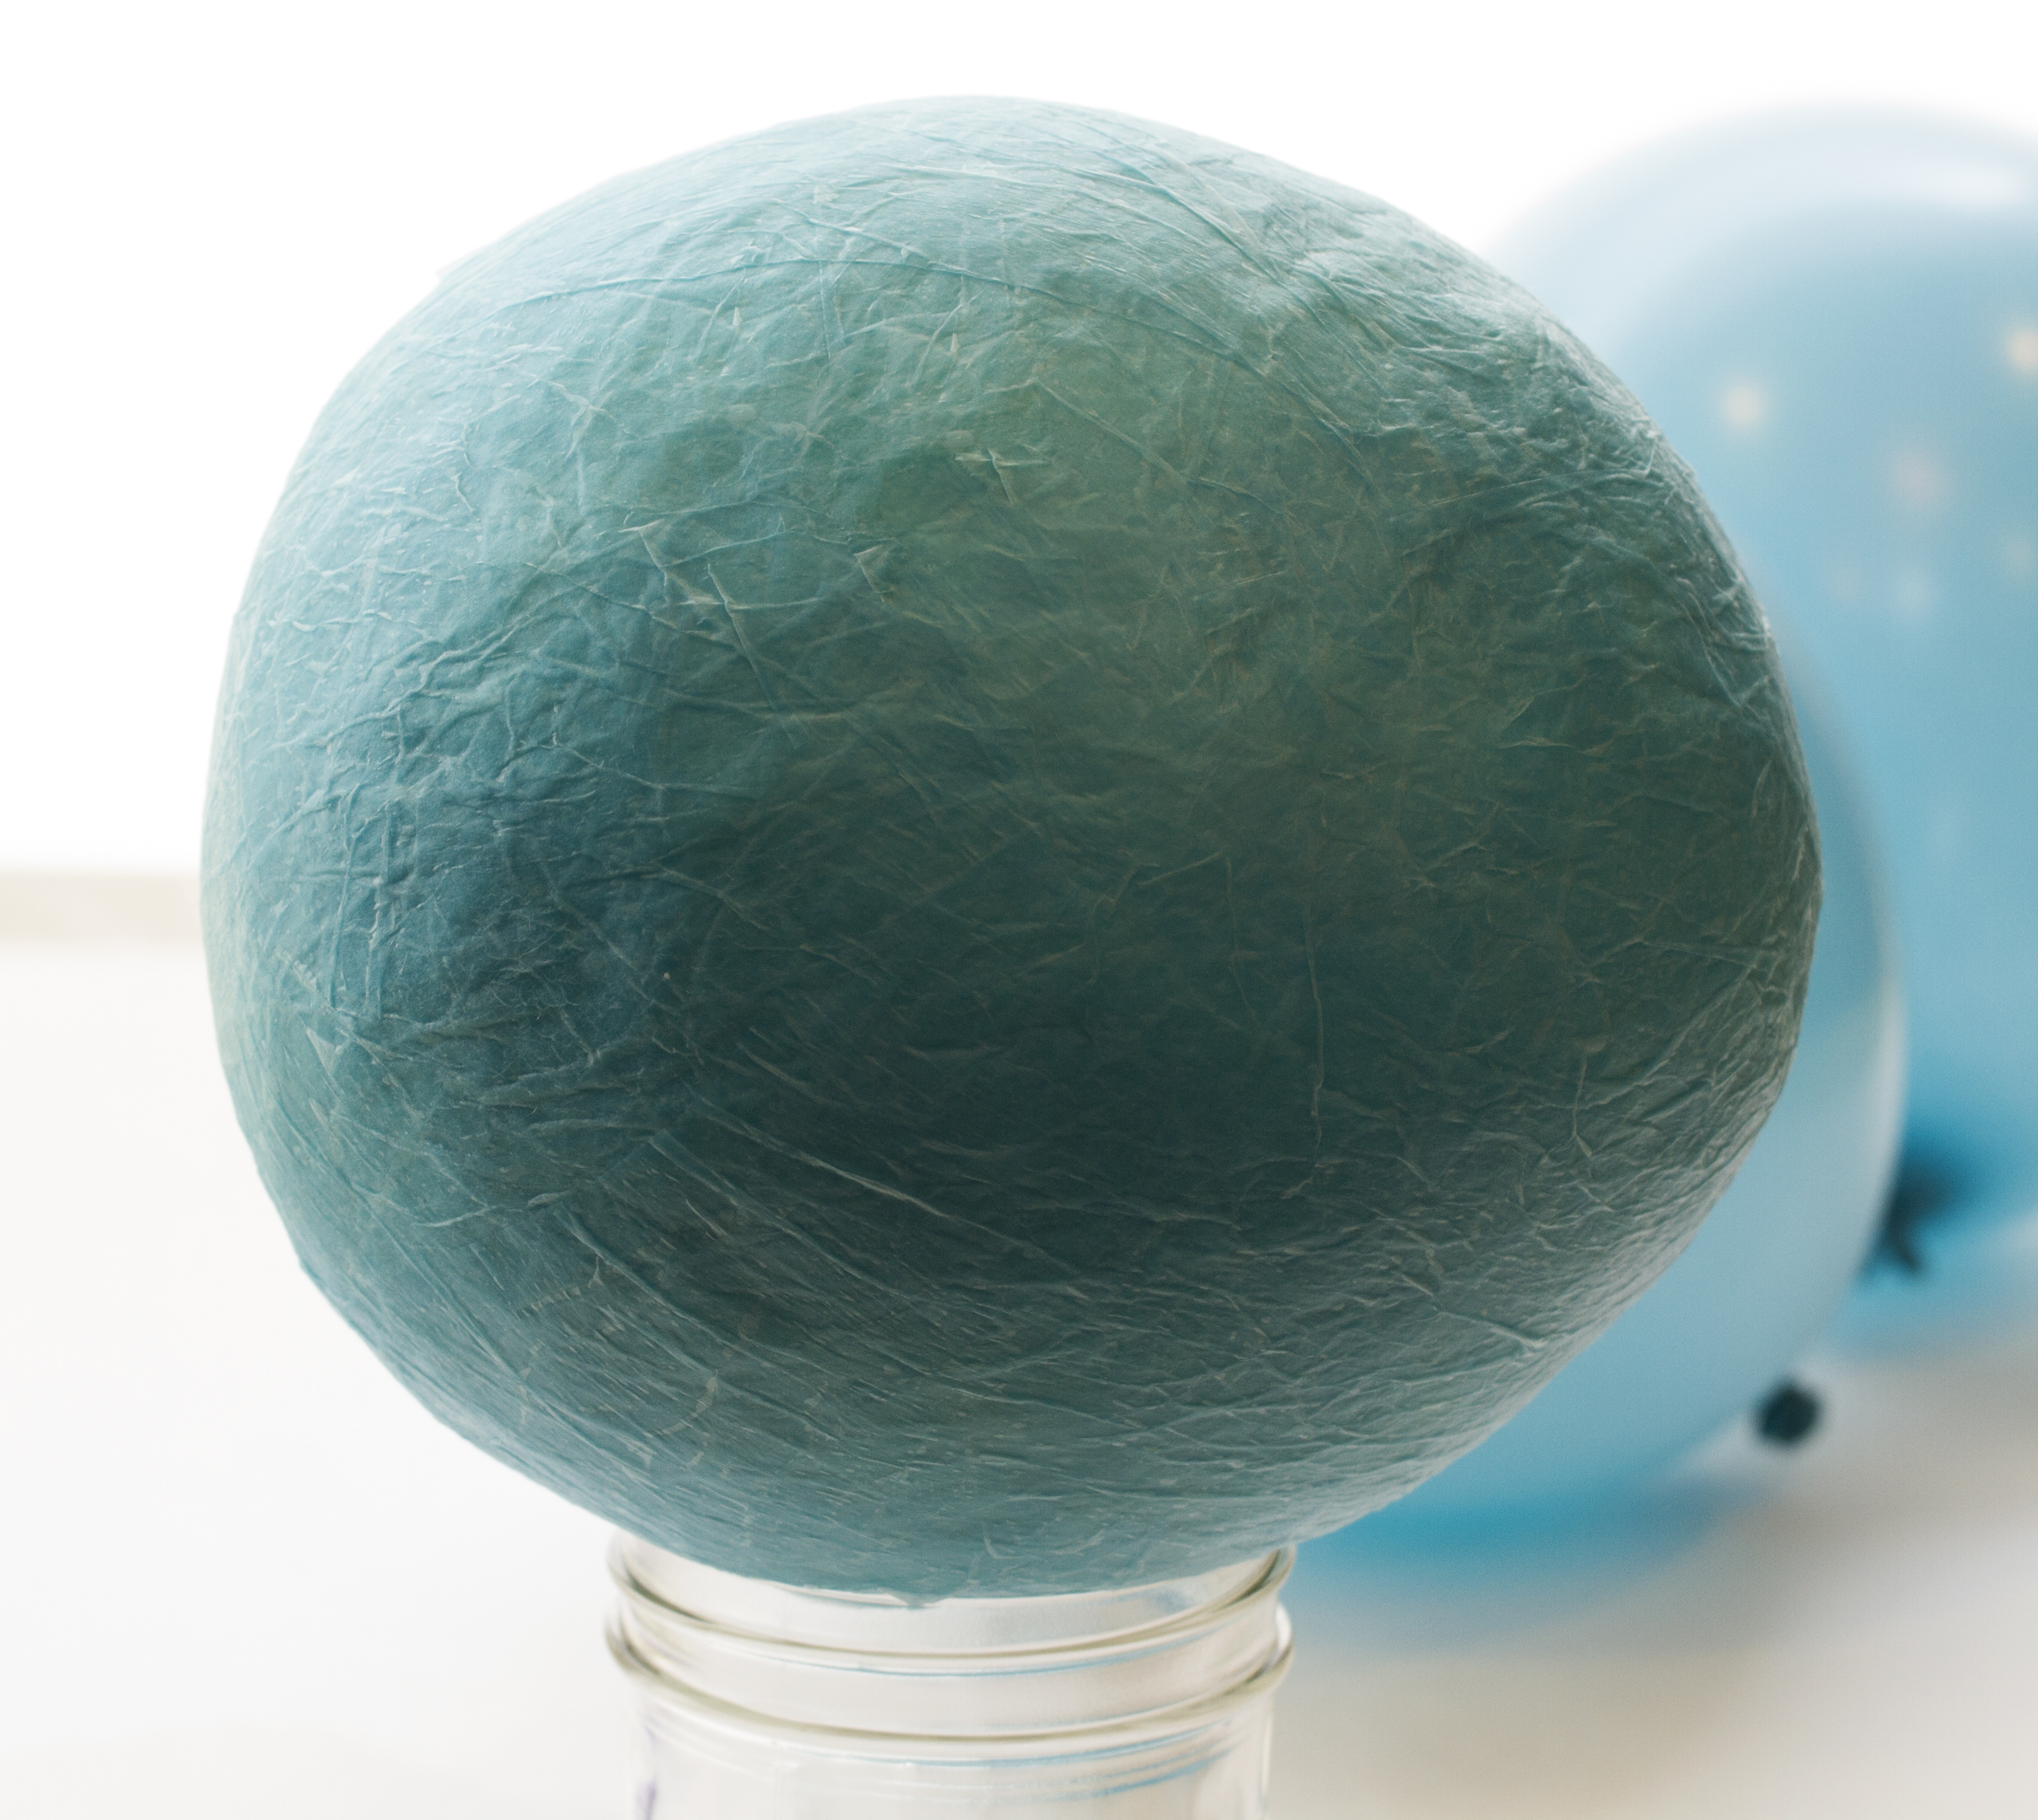
Set bottom on a jar to dry http://www.lifeatthecottage.com
Determine how you want the egg to sit (on its end or the side) and set the bottom of the egg on a jar to dry for several days. Once dry, poke a needle (to pop the balloon) in the egg where the hole in the egg will be cut. Cut the side of the egg making the opening look like a cracked egg or rounded smooth edges. Decorate with trim, silk flowers, ribbon, or paints. Also, consider stenciling or stamping the egg before gluing on trims. Glitter glue is easy to use for decorating the cut edge or accent patterns. Try crafting a wire handle threaded with beads or decorated with trim to attach to the egg. Fill with grass and top with Easter eggs, small books, candy, small gifts or pretty spring flowers. Happy Easter!
Easter Basket Tutorial
http://www.lifeatthecottage.com
To see more tissue eggs go to:
http://southernidaholiving.com/at_home/crafts/handcrafted-easter-egg-baskets/
