A memory wire bracelet tutorial. http://www.lifeatthecottage.com
With Mother’s Day coming soon I thought I would do a tutorial on a memory wire bracelet. The supplies needed are:
- Wire Cutters
- Pliers
- Memory Wire for Bracelets
- Glue (E6000 is what I used)
- Assorted Small Beads and
Charms
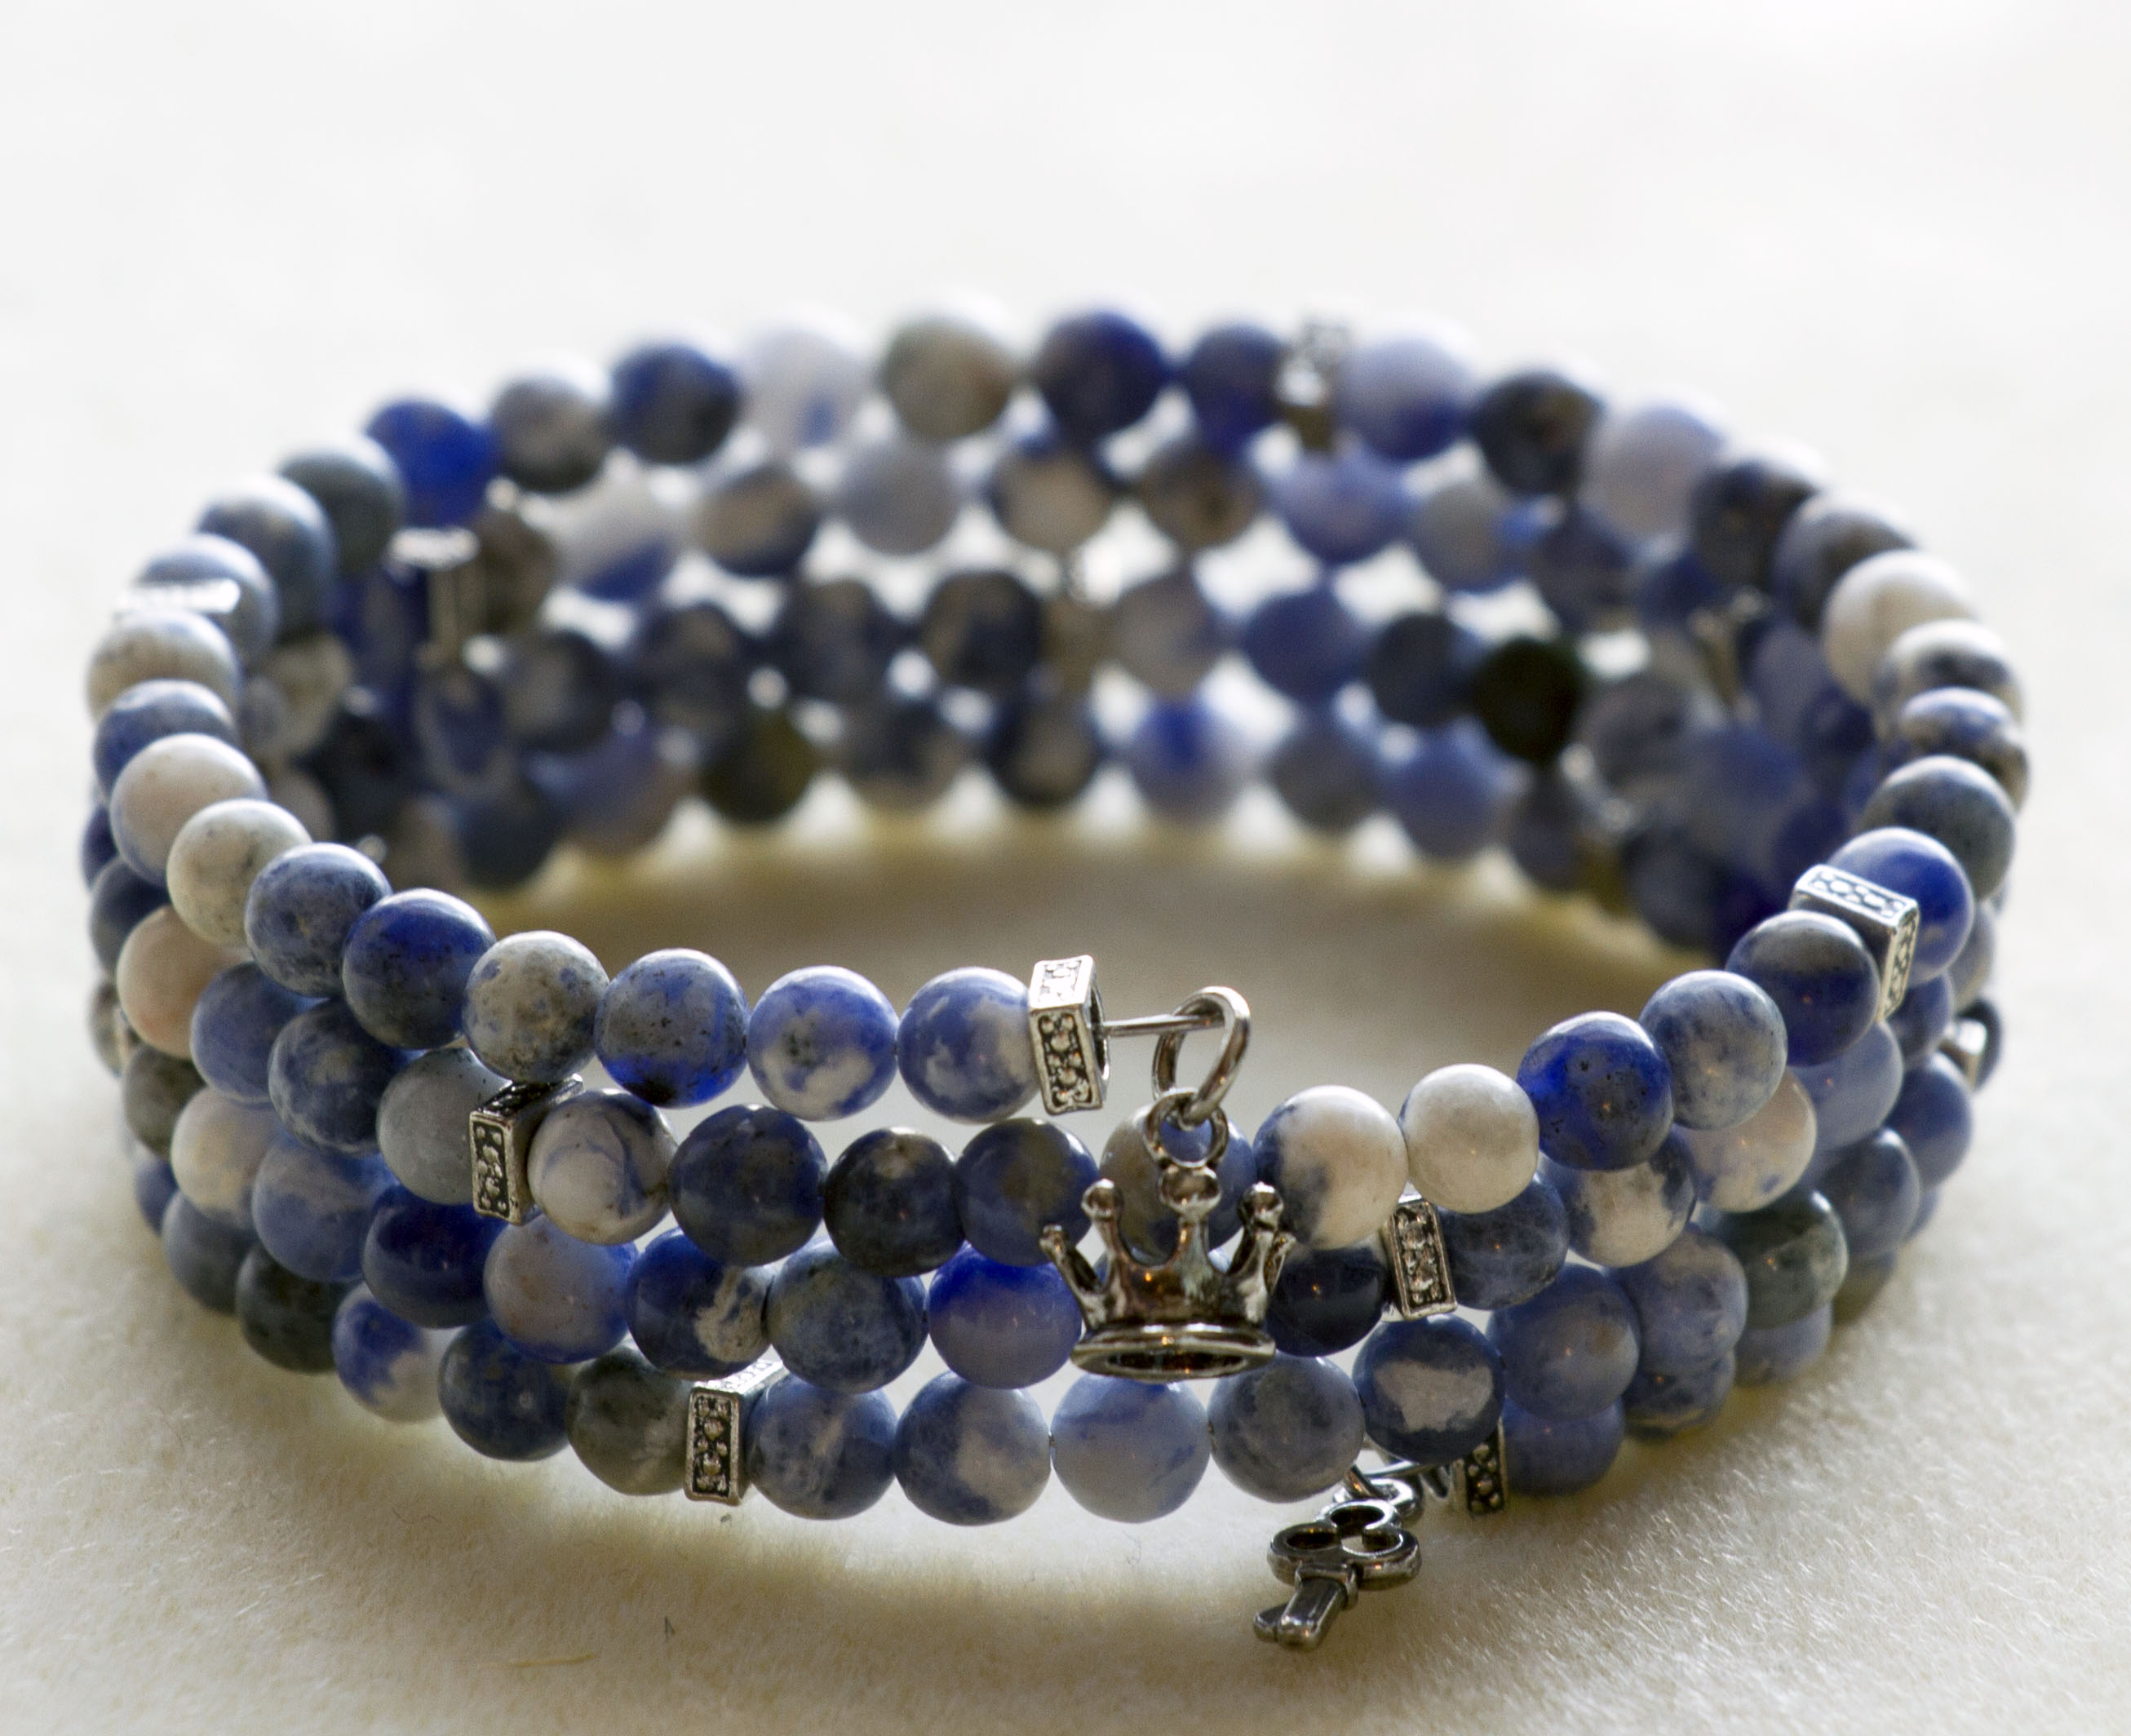
Cut the memory wire to the size (how many wraps around your wrist you want). Glue on a small bead to one end of the wire. Let it dry and then take your pliers and bend the end up. Before closing the bent end up, thread on a charm (I added a small key) and then finish closing the bead wire end.

A tutorial for a memory wire bracelet. http://www.lifeatthecottage.com
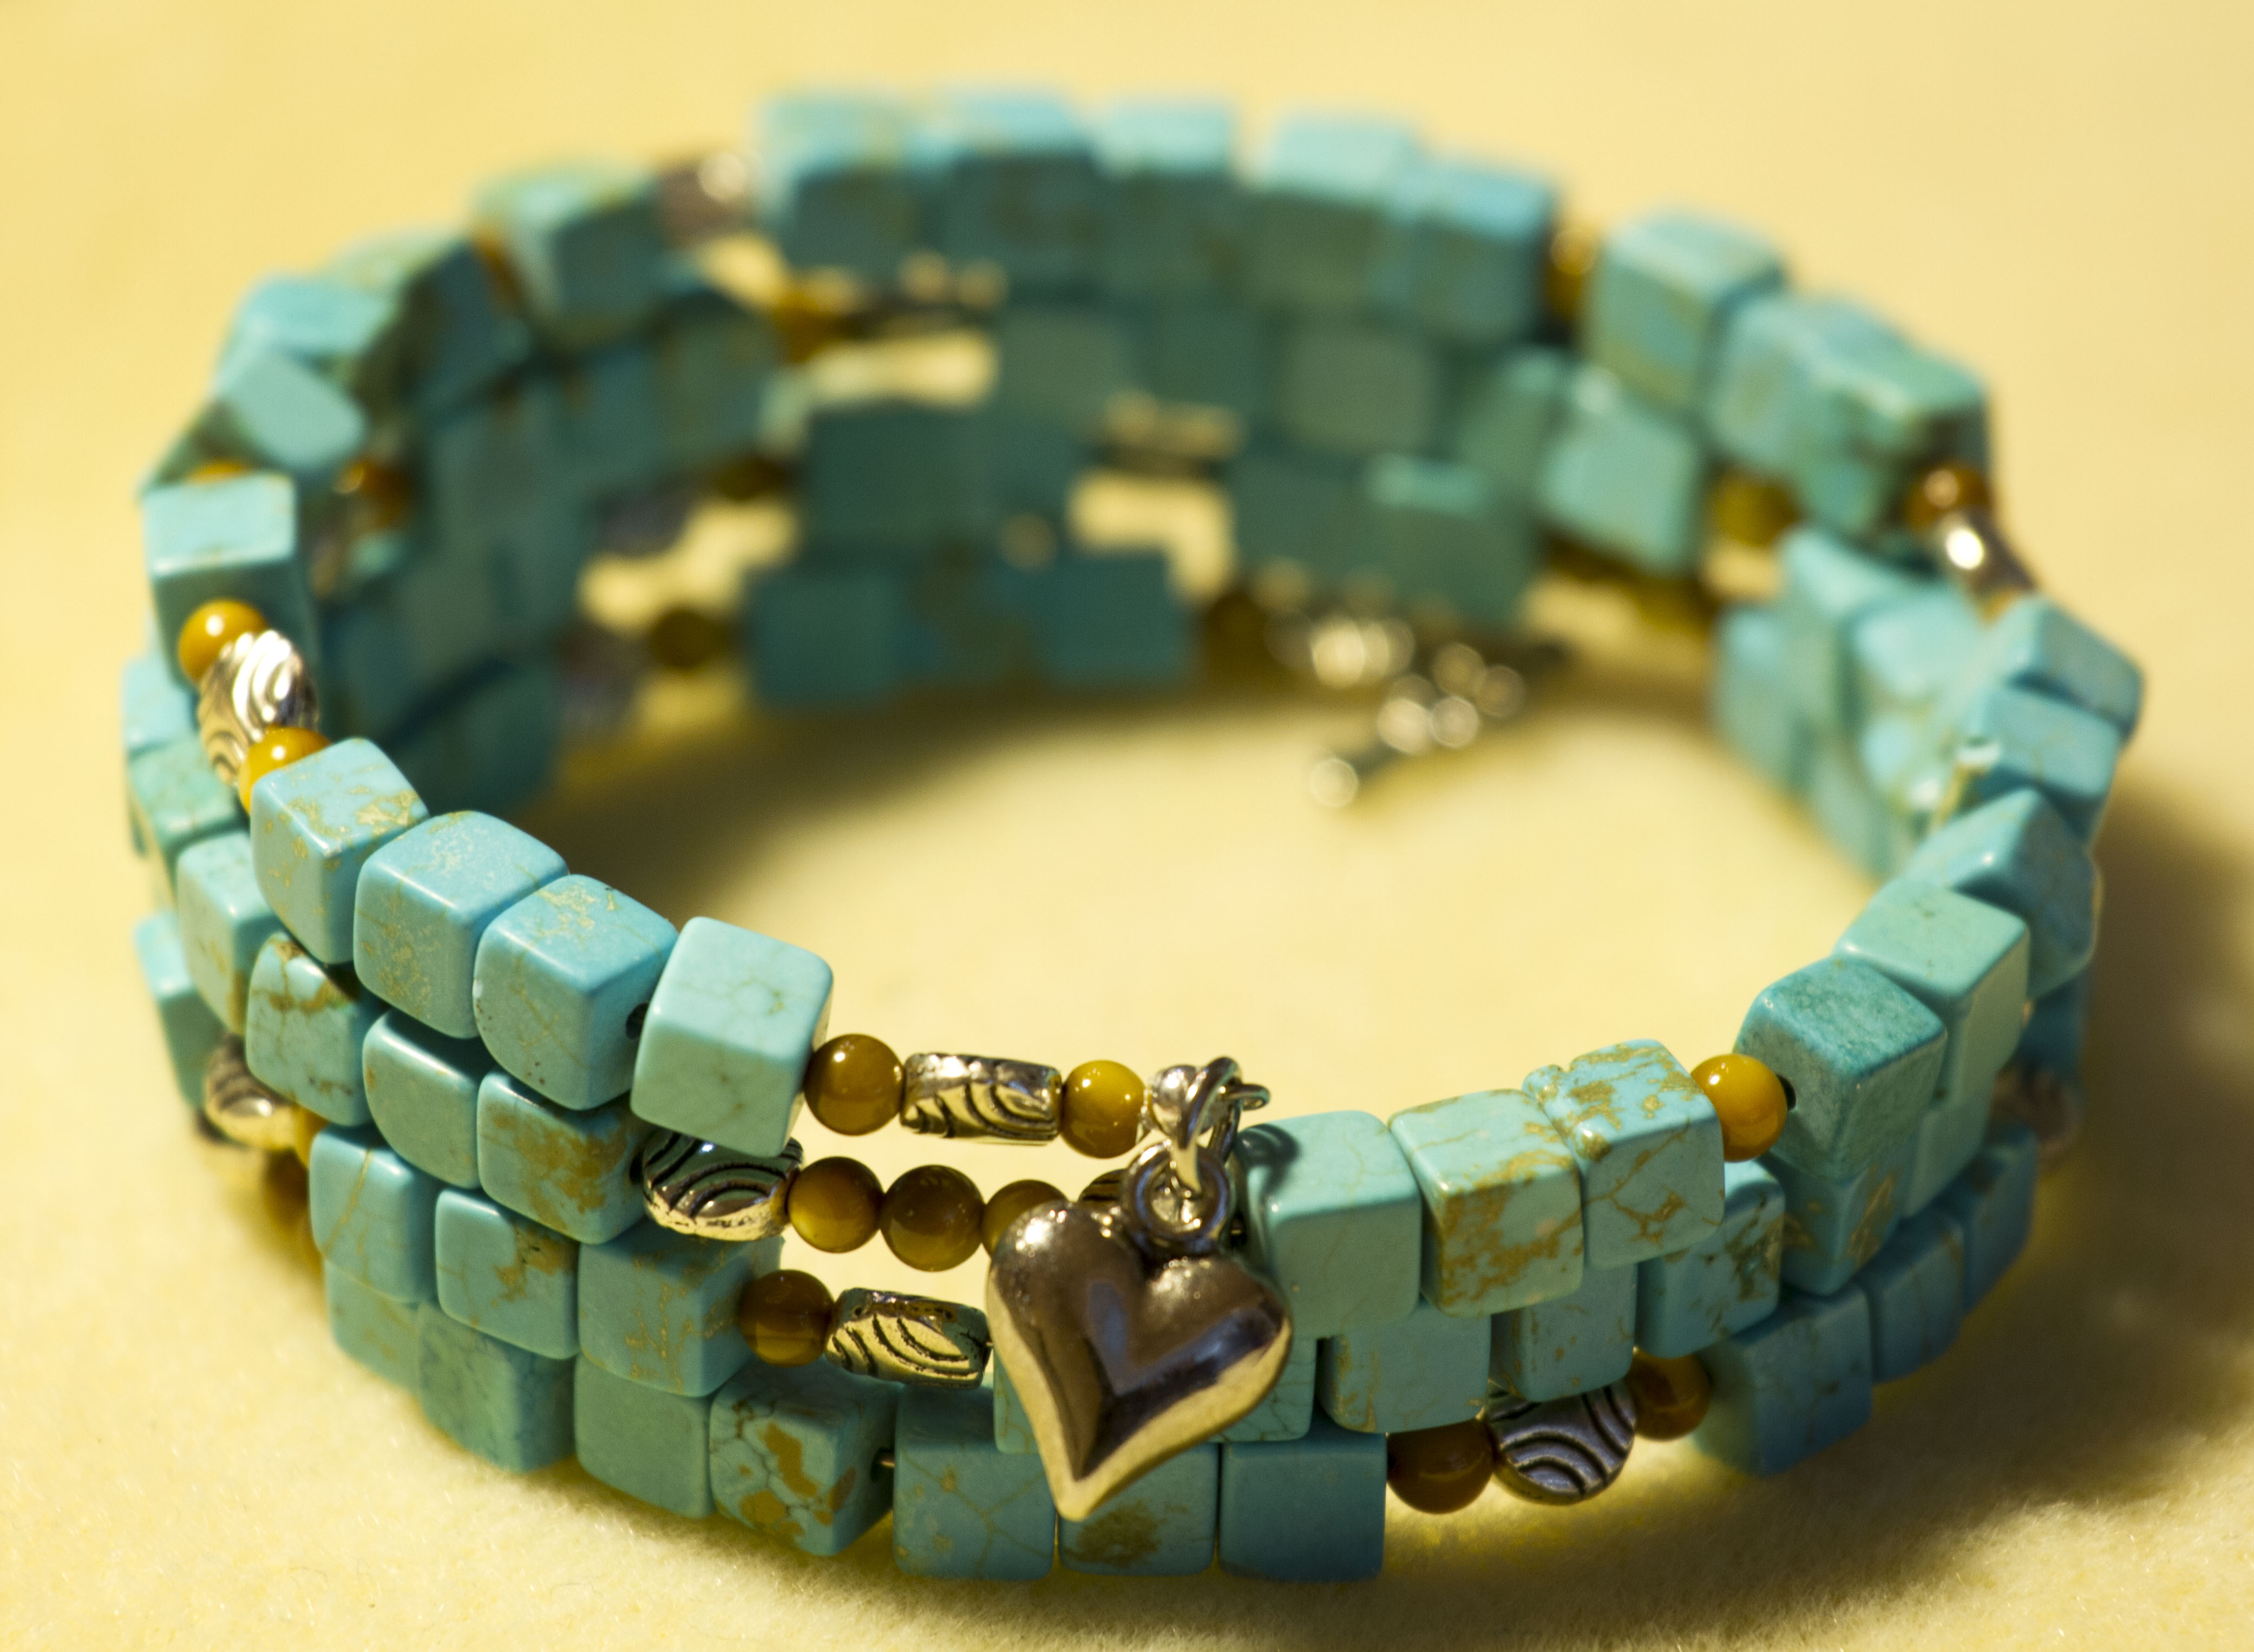
Using the other end of the wire, start putting on the beads in any order you choose. I like a random look with this particular bracelet. When you get the length of the wire strung with your beads, leave a small length and add another charm (I added a heart). Glue a small bead on the end of wire and let dry. Bend up this end of the wire making sure the charm is in the bent area.

Adding beads to memory wire bracelet. http://www.lifeatthecottage.com
Memory wire bracelets are a great look and easy for someone who has trouble with fastening bracelets. These bracelets are a great gift for any occasion. You can make them to go with any outfit and have fun designing a look you will love. This bracelet is inspired by a pair of boots on my Pinterest Boards. Love turquoise, silver, and brown together. Happy Crafting!
Tutorial for memory wire bracelets. http://www.lifeatthecottage.com

These are my favorite kind of bracelets! I love to stack three together.
I love them also. Easy to put on!